|
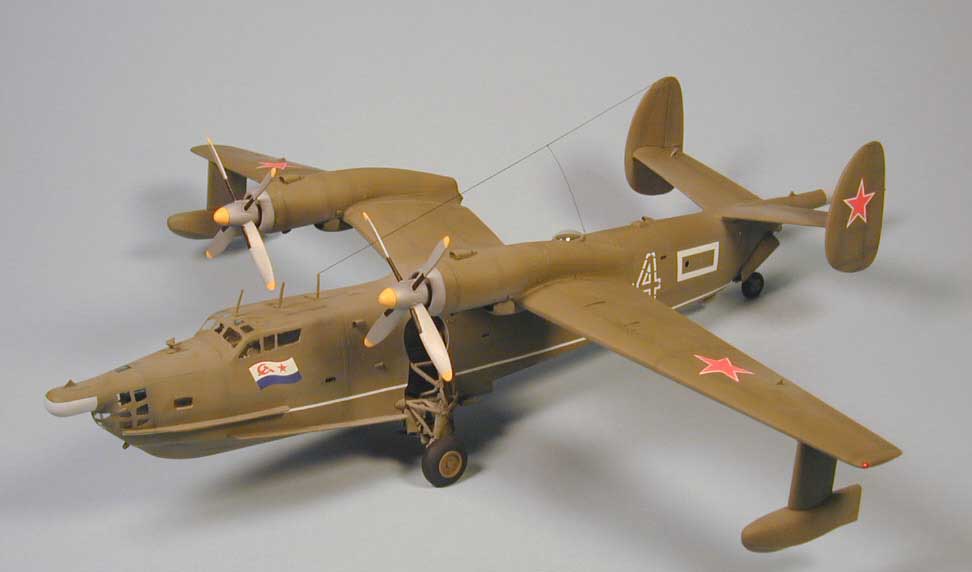
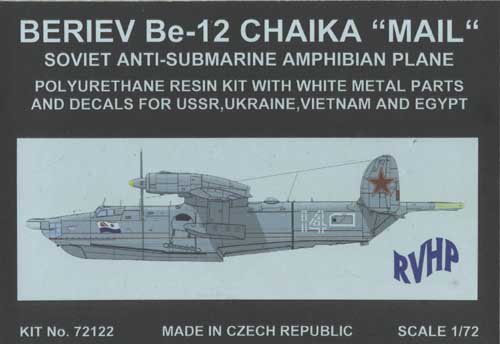
The RVHP 1/72 scale resin kit with clear vacuform parts and cast white metal details. (Click on the pictures to see the full size image)
This is only my second resin full-kit; the first one was so bad I never finished it!! Most of my resin experience comes from working with conversion sets. However, this is one of the finest resin kits I have ever seen and the castings are a work of art.
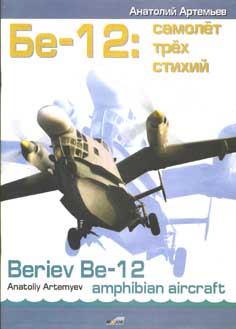
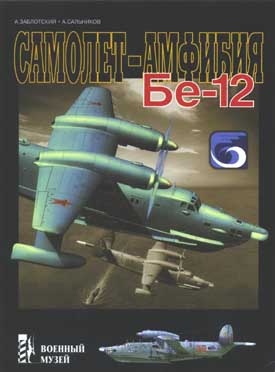
The only pin holes I found were on the leading edge of a horizontal stabilizer. Surface detail is as good as any recent kit from Tamiya or Hasegawa and the fit was better than I expected and only needed filler in a few places, most notably on the top fuselage seam between the wing "shoulders". I ran into one setback during construction - the model was mostly assembled when one of my cats decided to test fly it while I was at work! Well, cats will be cats, and it was my fault for leaving it out.... If I have any complaints at all about this kit it would be that RVHP should have supplied two sets of clear parts, especially considering the price of the kit (Currently $140 in USA and £125.00 approx. in the UK). REFERENCES USED Both "Beriev Be-12 Amphibian Aircraft" (left below) by Anatoliy Artemyev and "Aircraft-Amphibian Be-12" (right below) by A. Zablotskiy and A. Salnikov are excellent references. I got mine through Linden Hill Imports. As I write this they do not appear on the Linden Hill website which either means they're out of print or are temporarily out of stock. I suggest contacting Linden Hill for details.
CONSTRUCTION STARTS I
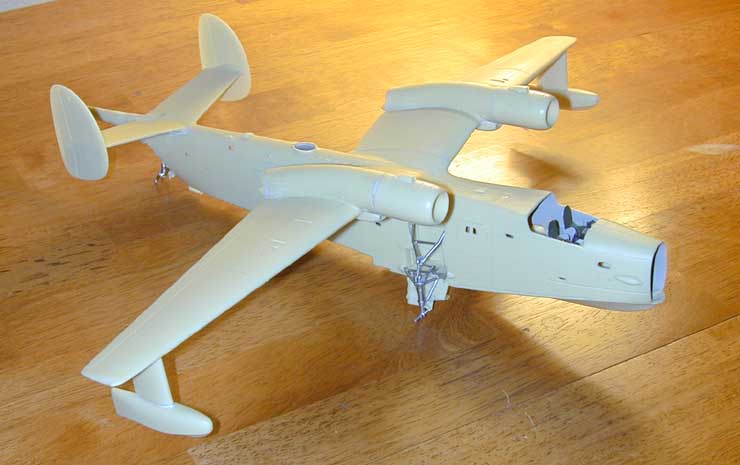
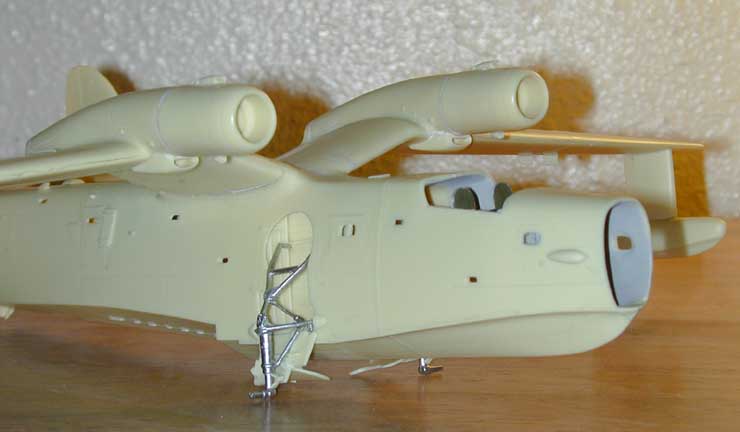
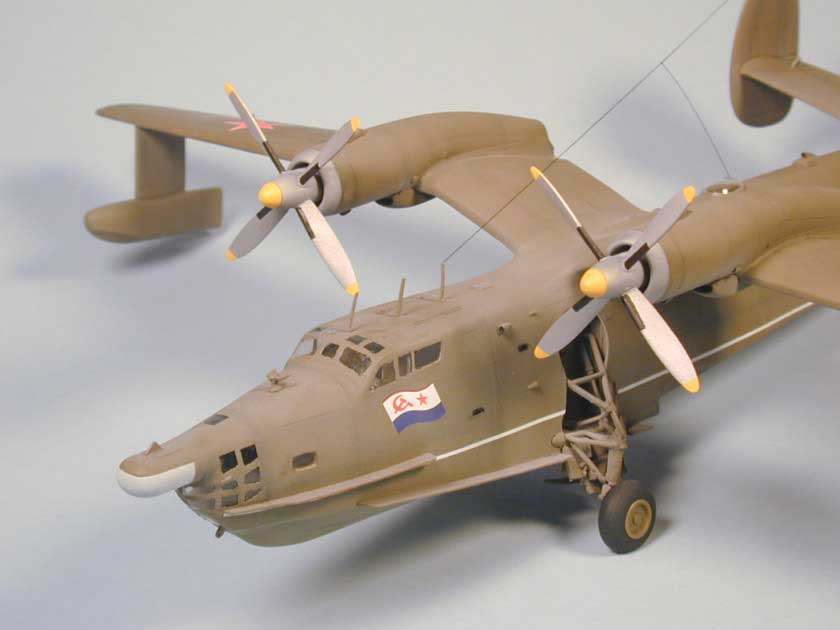
wish I had drilled the engine exhausts out. Once mounted to the
fuselage, it cannot be done.
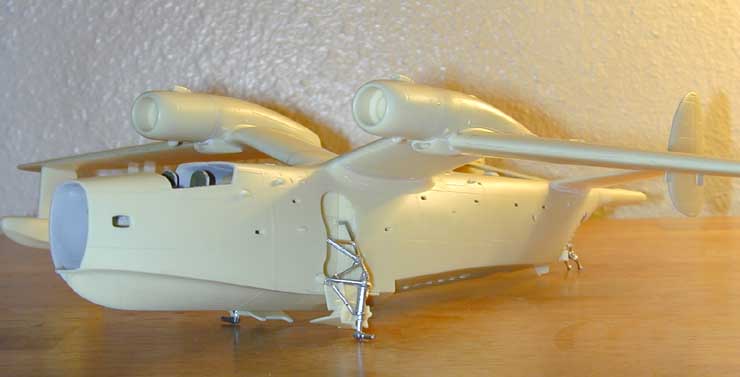
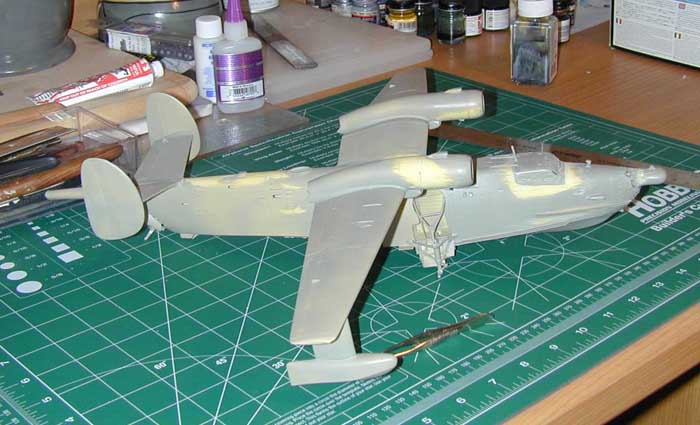
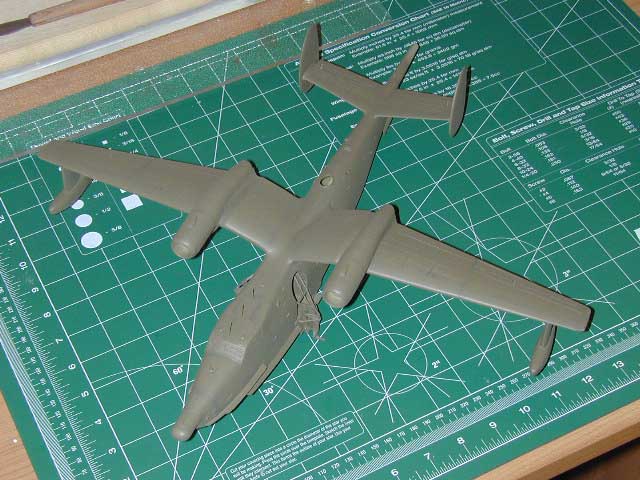
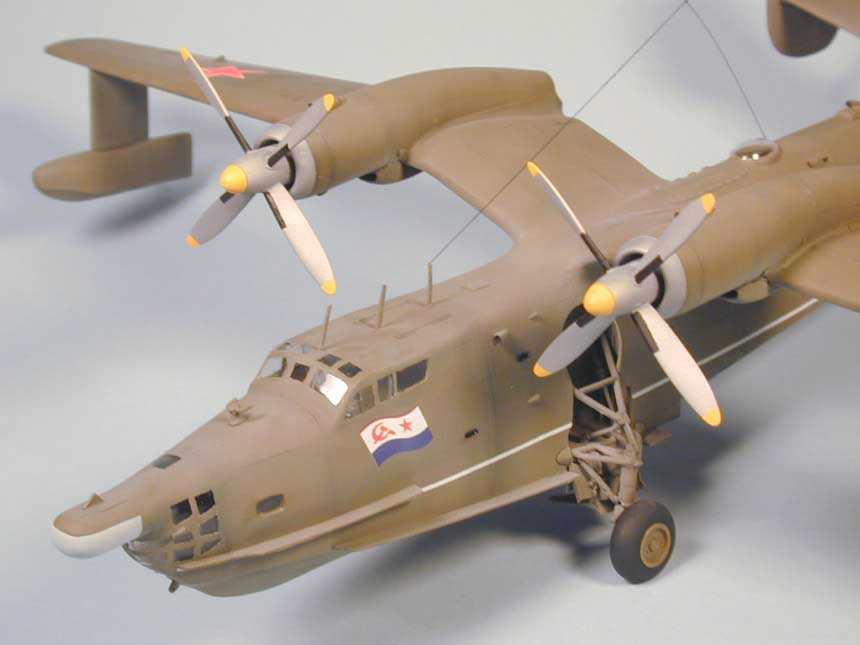
This is a good view of the Be-12's spindly main landing gear. At this point I still have two resin parts that need to go into each landing gear well.
The
large opening for the clear nose part is evident here. The scratch
builder may want to add detail here, but I'm an "out-of-the-box"
kind of guy.
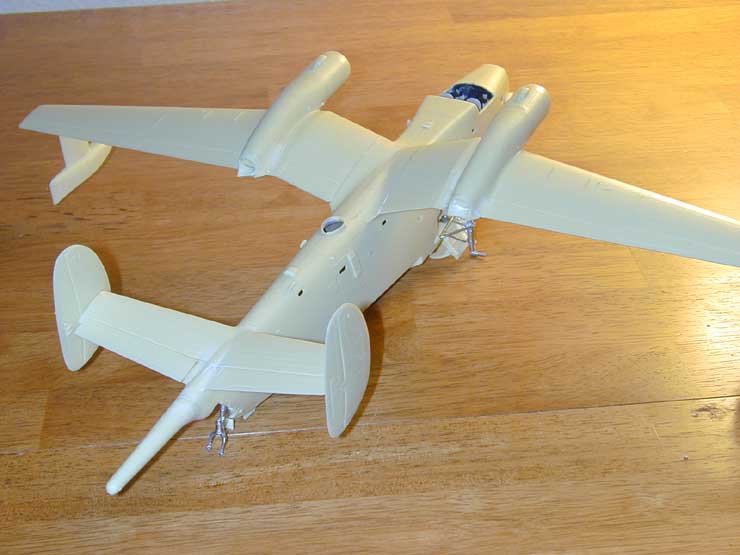
There are no clear parts for all those small fuselage windows. I plan on using MicroScale Kristal Klear for those.
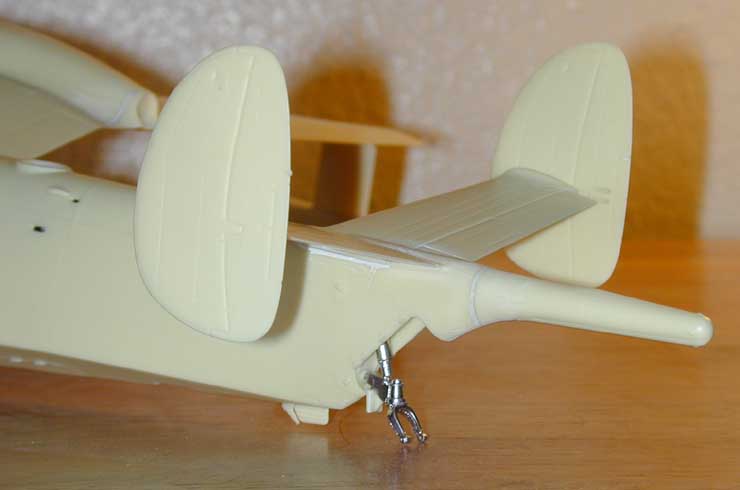
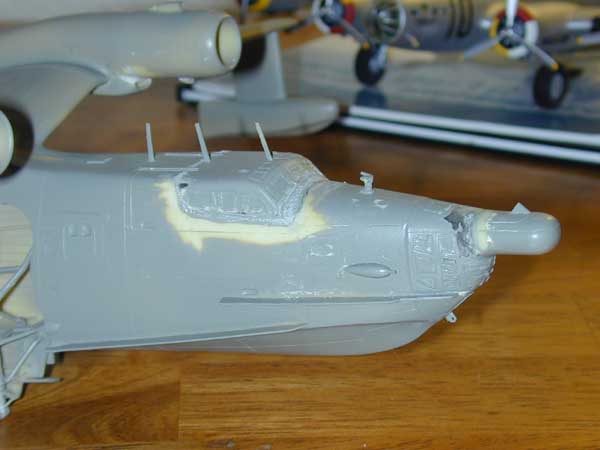
Close-up of the tail area. Filler was needed under the stabilizer and around the MAD boom/fuselage joint.
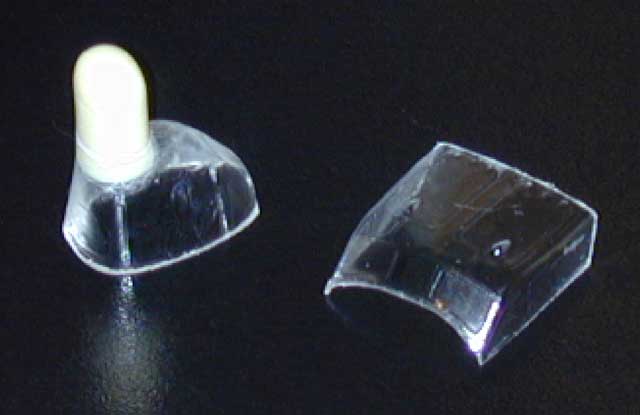
TRANSPARENCIES The
kit contains three clear vacuform parts, those pictured here being the
nose and cockpit parts. The third part, not shown, is an observation
'blister' on the spine of the aircraft.
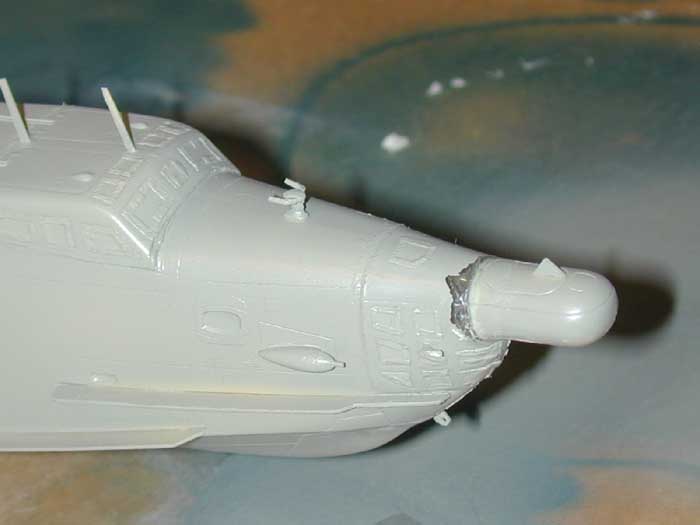
Note
that the resin radome is a separate part that is to be attached to the
clear nose, but there is a gap there that will require filler. One major
thing to look out for here is the thinness of the plastic on end of that
nose part. RVHP added some resin on the inside to strengthen it up at the
very end, but it's still pretty weak just below the resin reinforcement.
I found this out the hard way while I was sanding the base of the part
smooth. Small areas buckled under the pressures of sanding and
creased small sections of the part. As I mentioned at the top of the
page, I wish RVHP had included two sets of vacuformed clear parts because
mishaps like this are very likely to happen. However, once cut out and
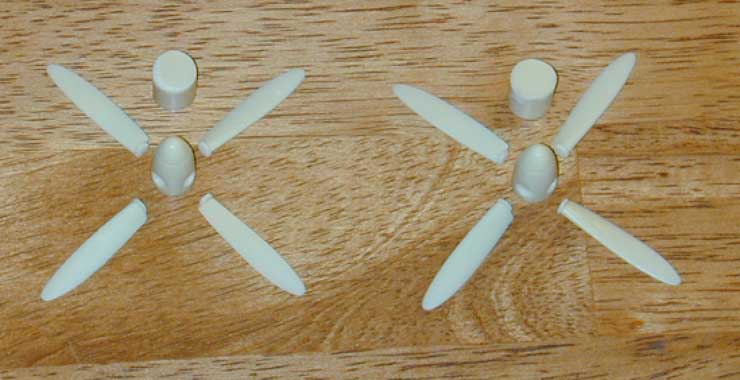
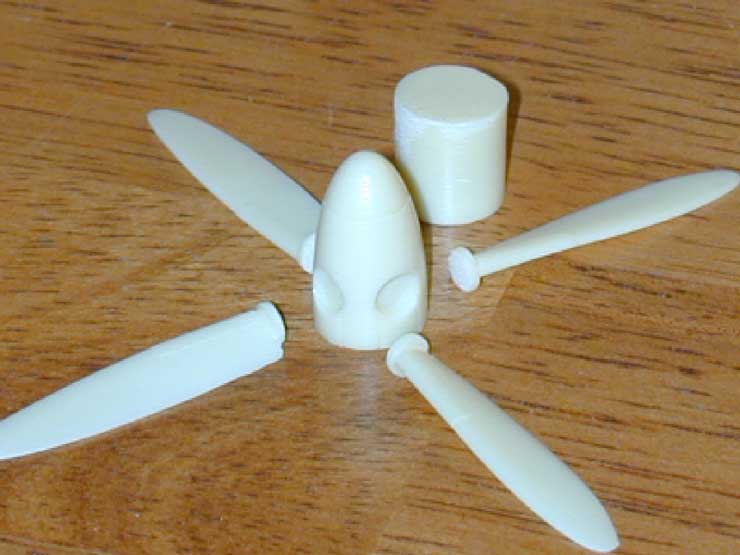
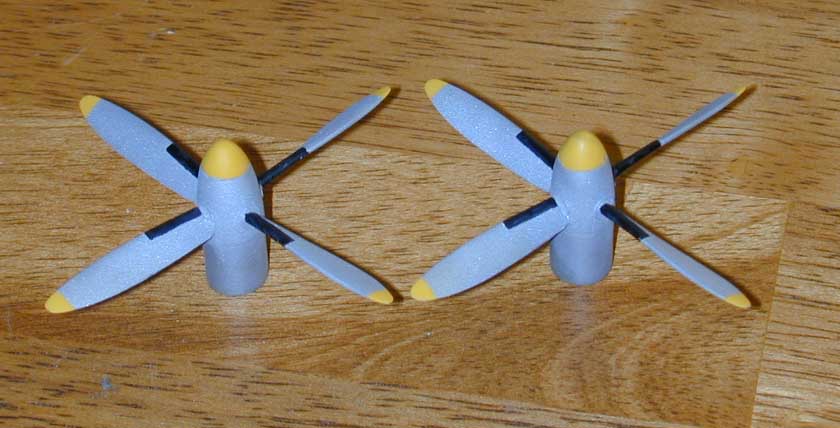
sanded, the fit of these clear parts to the model aircraft is excellent. PROPS AND SPINNERS Each propeller assembly consist of six parts for each one.
Here is a close-up of the propeller parts. The round bases on the blades will fit into recesses on the spinner. I engineered a jig to make sure everything lined up consistently.
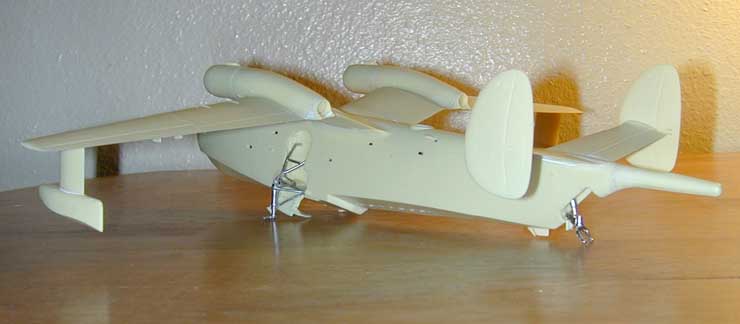
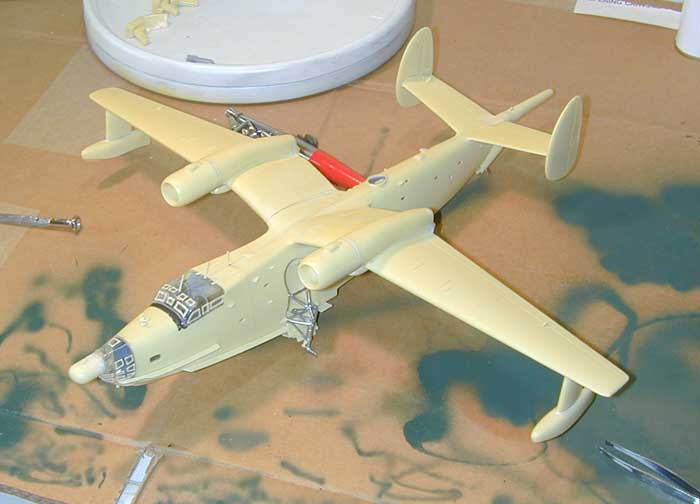
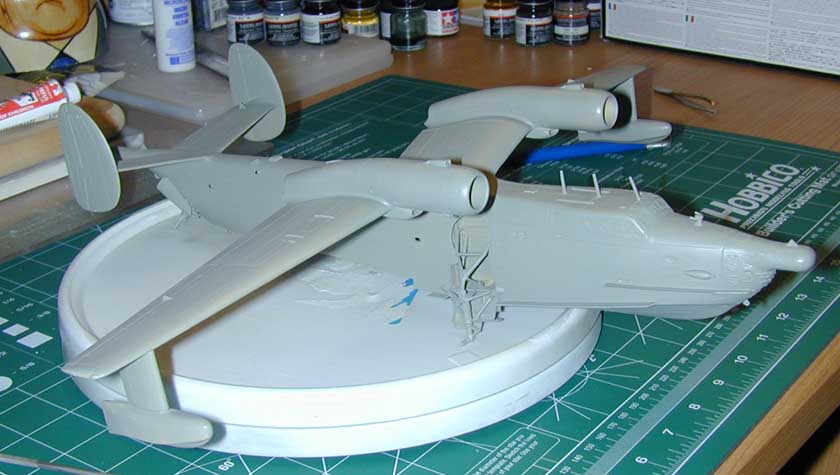
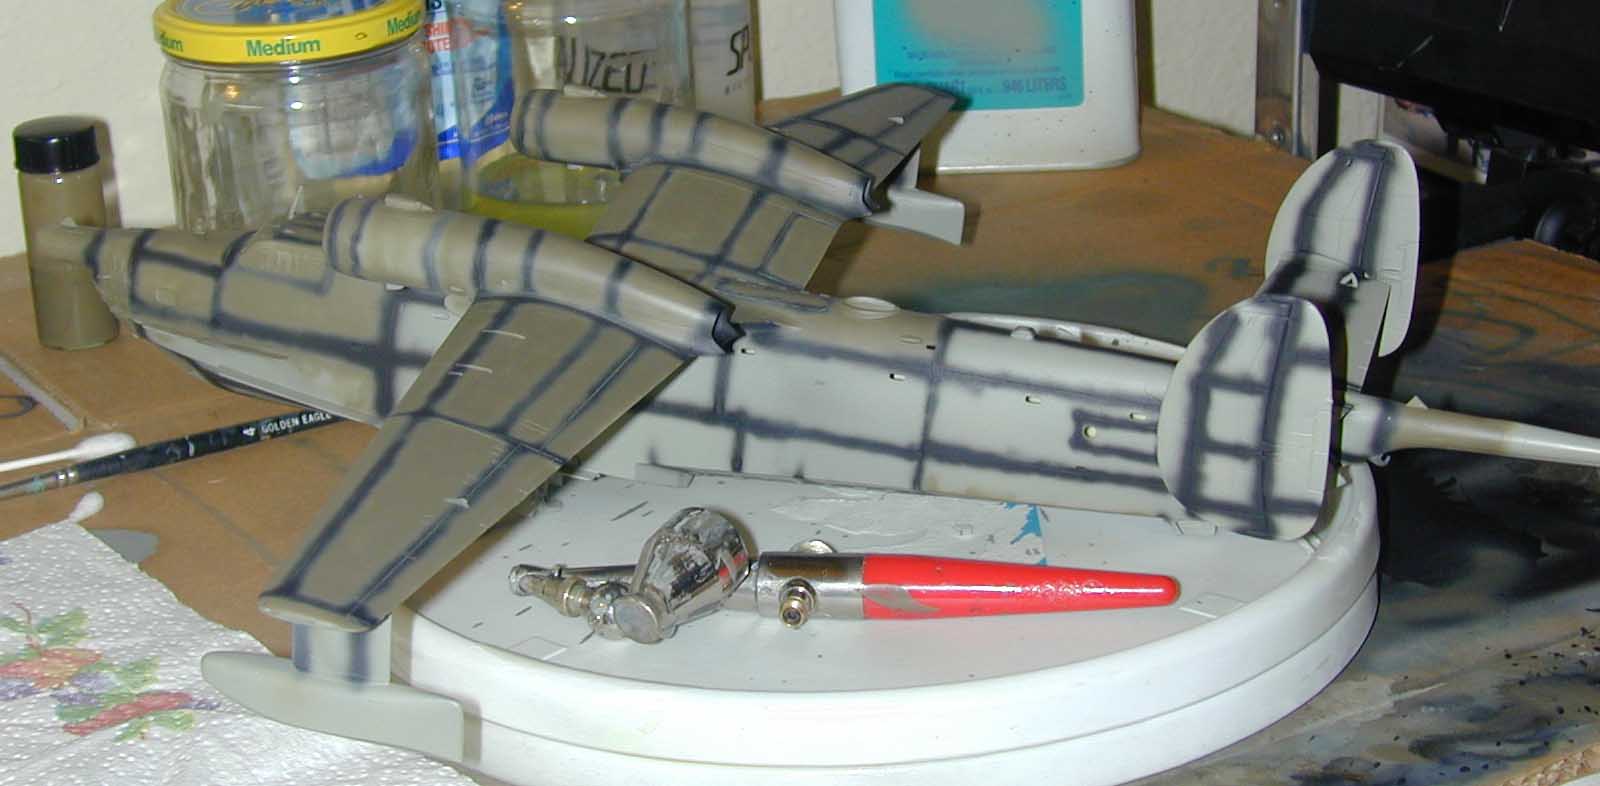
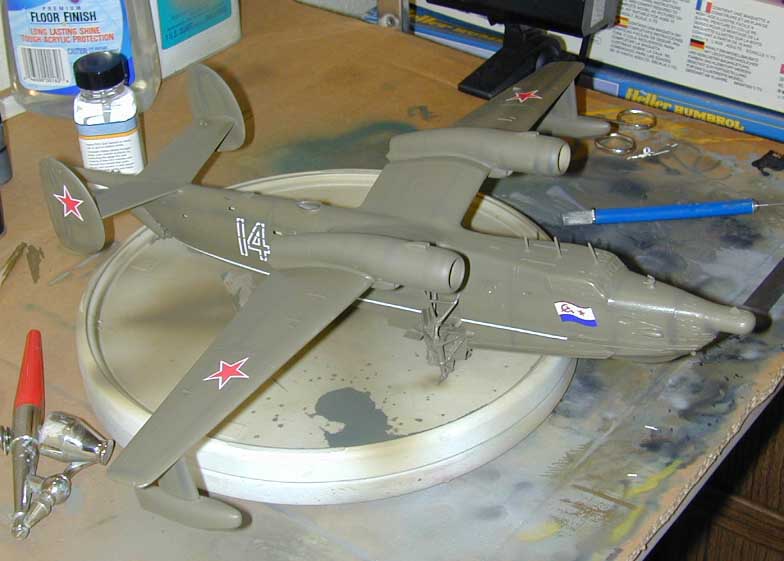
I've attached all of the resin detail parts to the exterior now and the clear parts have been put in place with carpenter's glue. She's about ready for a shot of paint!
I used Model Master RLM 02 Grey both as a primer and to look for flaws in my workmanship. I found a number of places where extra work was needed or I had left a fingerprint or two - back to the sanding shop to fix...
NOSE OOOPS....! Remember my story above about areas of the clear nose part buckling when I was working with it?
This picture shows that area clearly. Originally I tried to fill and
smooth the area with carpenter's glue. The appearance wasn't great,
but it did look better than if I had just left it alone. Anyway, while I
was making the workmanship corrections mentioned above, the same area gave
way and the carpenter's glue fell away re-exposing the original damage.
Bad. I took a few days off to think about what to do. That area is
very thin!
I was so pleased with my work on fixing the clear nose that I decided I could improve the appearance/fit of the clear cockpit part in a similar manner. In this pic, the nose area thin spots are fixed, but I still need to smooth it up for painting with 600 grade sandpaper.
Problems corrected, so add another coat of gray paint.
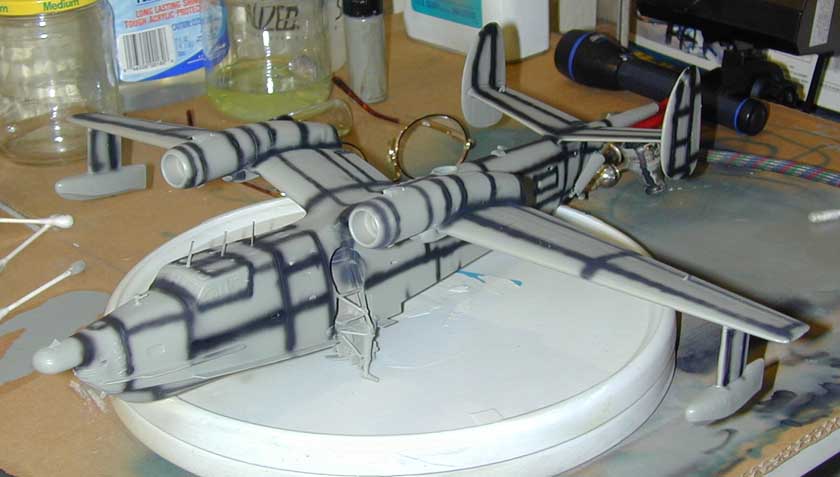
MAIN PAINTING AND FINISHING I
usually don't pre-shade, but considering that these amphibians
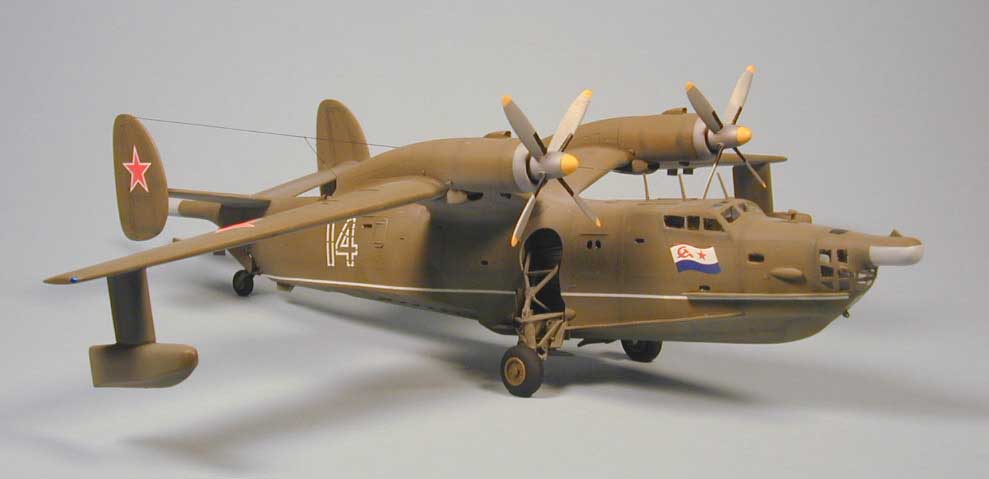
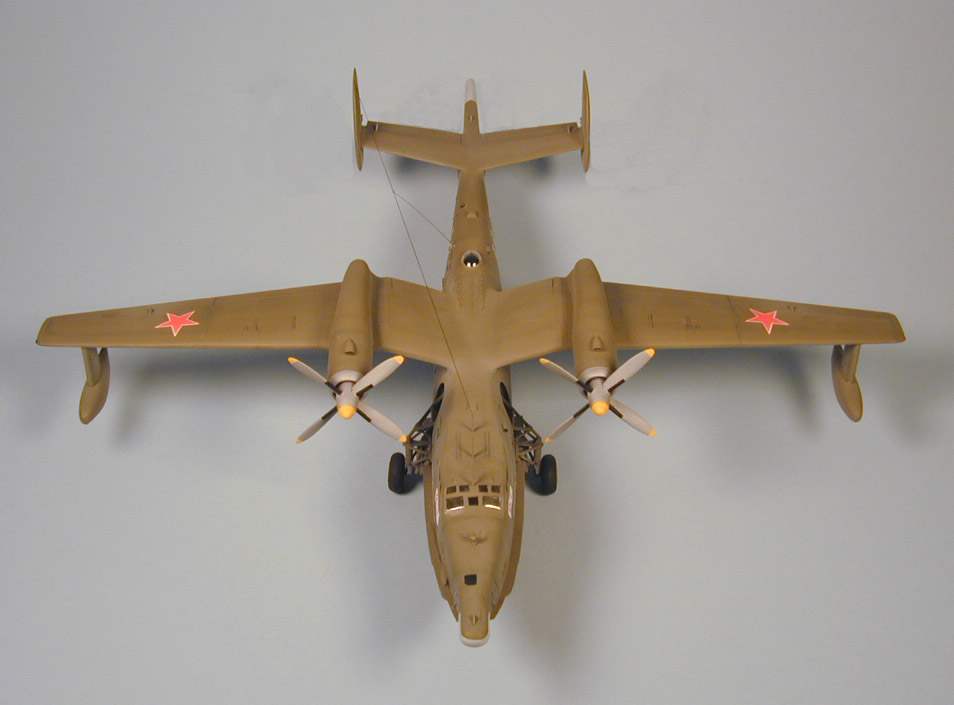
References I have on the Be-12 show they were painted various colors at different times in its service life. I decided to go with a gray-green that Be-12's appear to have been painted in during the Cold war.
I mixed the colors and this looks close enough. Below you see the propellers assembled and painted.
Painted and decaling underway. The end is in sight!!!
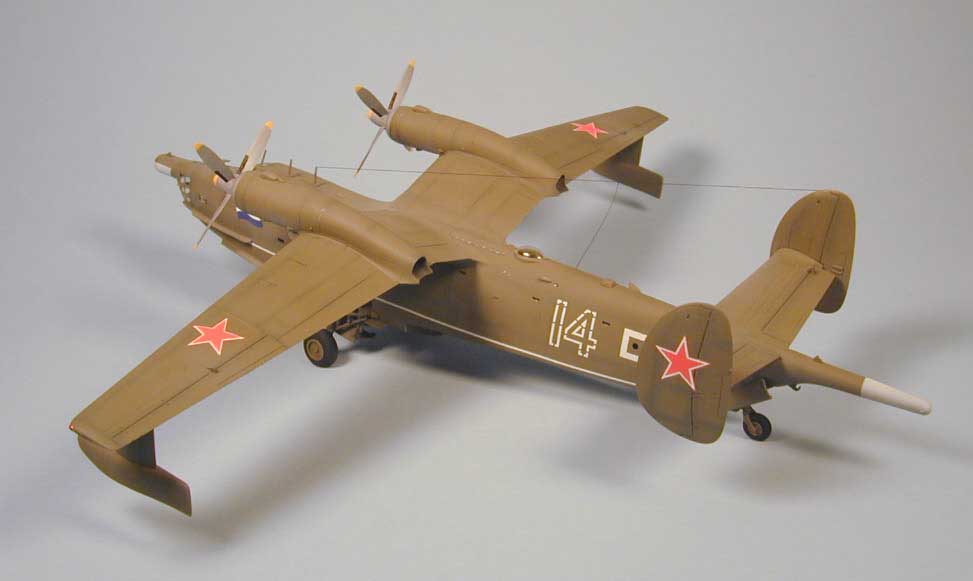
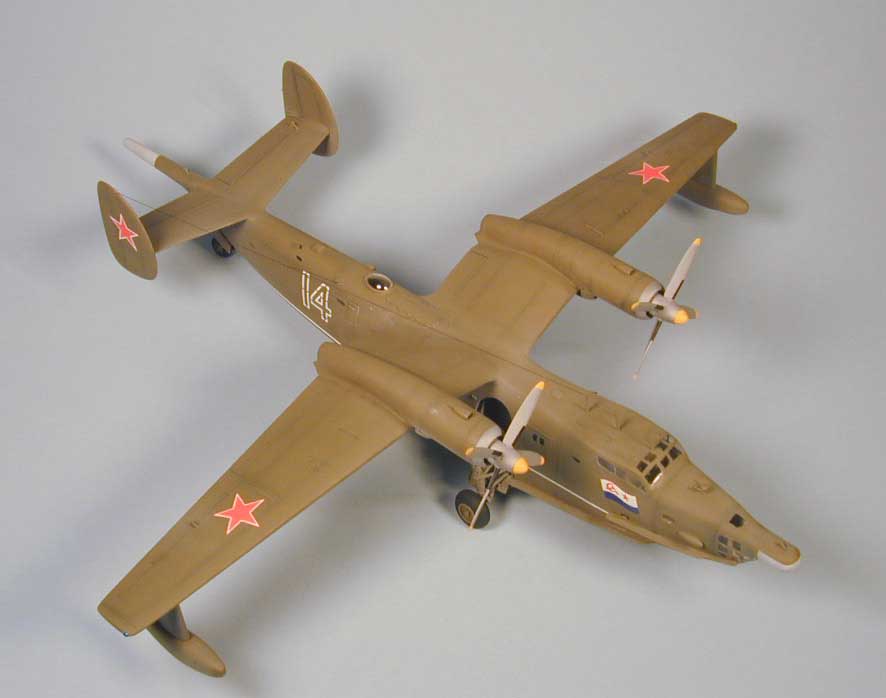
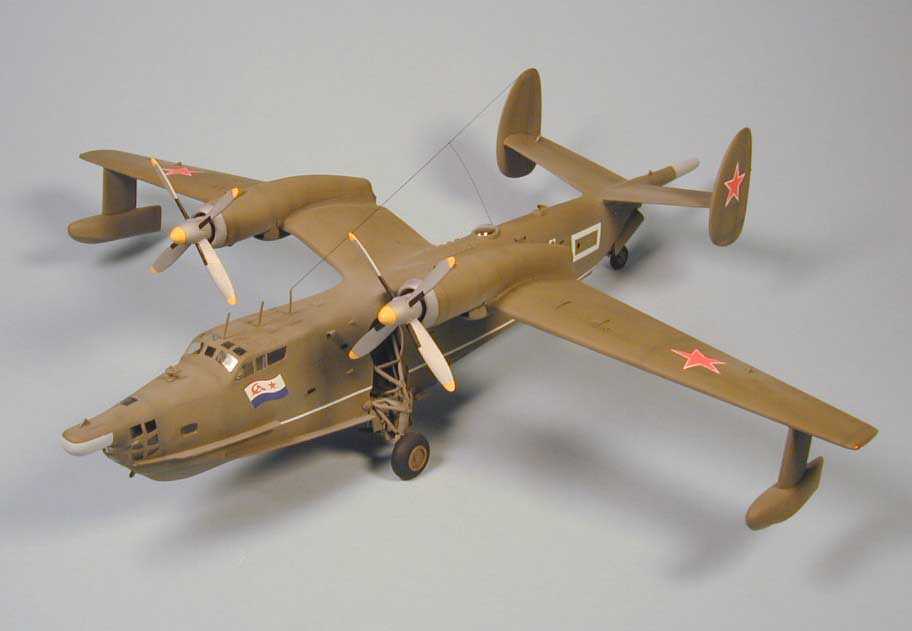
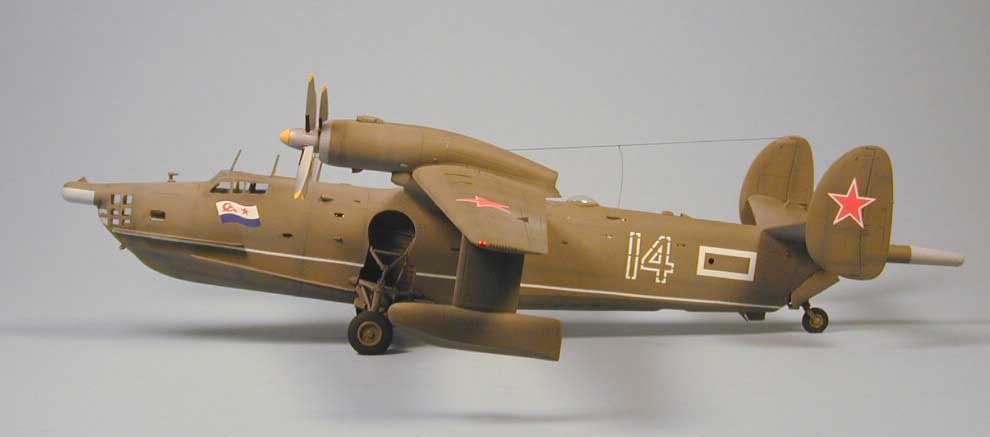
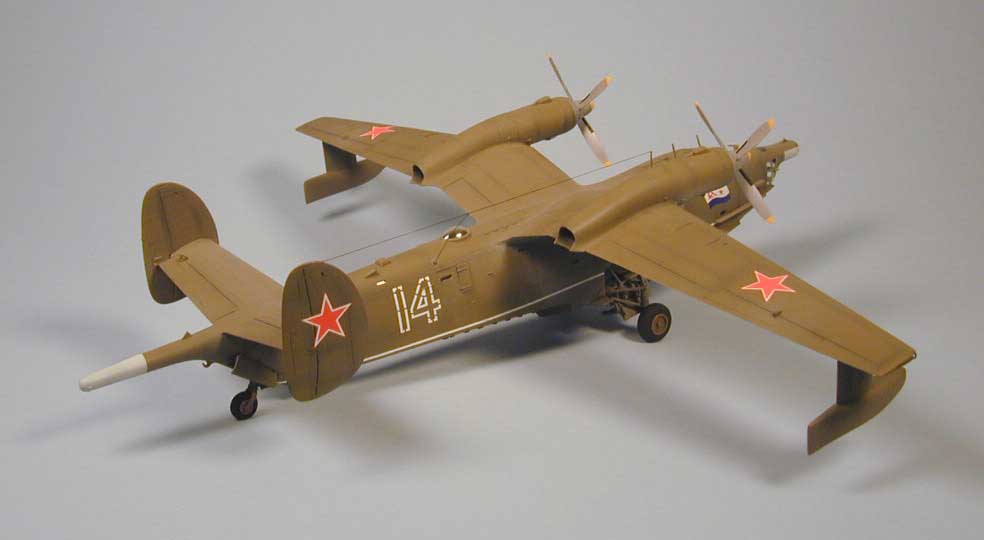
Almost there now! She's nearly complete in the above view. I still have minor clean-up's and the small windows and details to take care of but she is well on her way. A few days later, she was finished and I am very pleased with the result! THE COMPLETED MODEL - MAGNIFICENT!
|
|||||||||||||||||||||