 |
|
| Guest review by Chris Busbridge |
 |
 |
 |
 |
 |
 |
||
|
The Kit This 1/72 scale kit is supplied in a standard sized Choroszy Modelbud box, despite
being from the more expensive B range. The multitude of parts are
safely packaged in a number of variously sized sealed bags. In fact,
there is a veritable forest of strut material, so much so that after
working out which ones were needed, there were still about 20 left.
As expected, the casting quality of all the parts are first rate,
although a few air bubbles did crop up in a few places. The wings in
particular deserve special mention. They are extremely well cast,
with no evidence of warpage. The fuselage halves too are delicately
moulded, although care is needed to remove the waste casting
material. There are a number of parts for the cockpit and the engine
is nicely detailed. After inspection, it became apparent that some
pieces were missing (not for the first time). In this instance, despite
the sheer number of them, two of the larger cabane struts were
nowhere to be seen. Neither was the cockpit windscreen and 3 circular
discs for the upper fuselage deck. Another item that will need to be
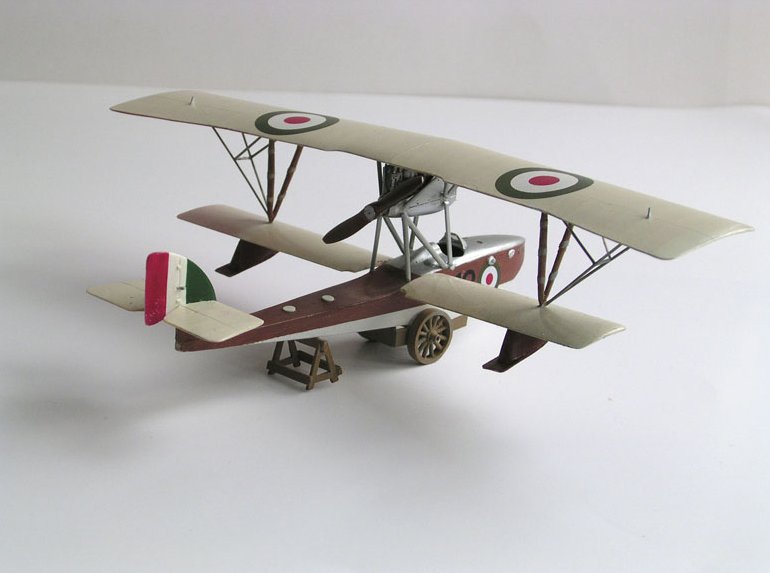
corrected is the beaching trolley, as the kit version does not match
the type that's often used with this aircraft. The kit is equipped
with early style floats, so anyone wishing to model a later variant
will have to scratch build new ones. The decal sheet is nicely
printed but incomplete.
The instructions follow the familiar Choroszy Modelbud layout, 2 photocopied
folded A4 sheets starting with a brief history, followed by a series
of assembly diagrams, a 3-view drawing and a colour scheme. No
accurate colour matches are given and colour call-outs are restricted
to the scheme only. Colours for the smaller detail parts will have to
be guessed at, this includes the cockpit interior.
Starting with the cockpit, it was decided to go with a predominately varnished
wood interior, including the seat. There is a floor, rear bulkhead, a
very simple instrument "bar", gun breeches as well as The rudder was then
glued onto the rear of the fuselage, but before painting the white
& wooden areas of the fuselage, the top of the fuselage from the
nose to the rear of the cockpit was sprayed Alclad II Aluminium. This
is not shown on the colour guide, even though nearly all M.5 photos
show a light metallic colour to this area. Other parts given a wood
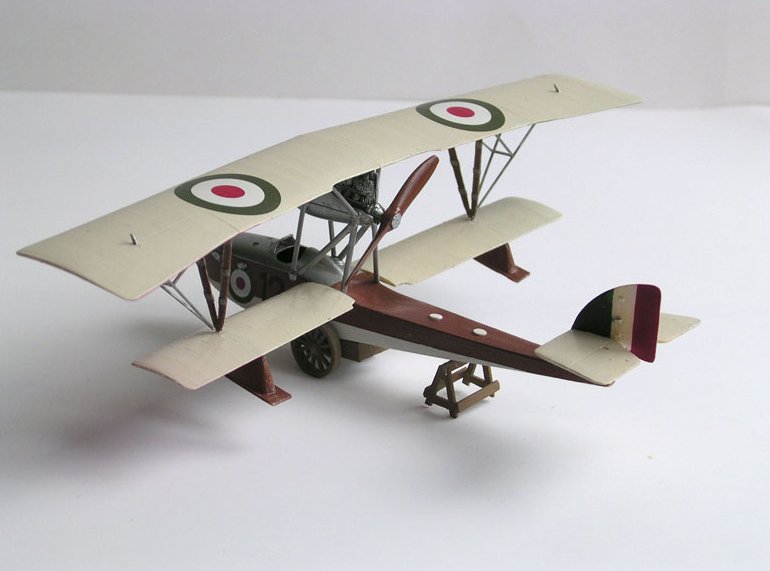
effect at this stage were the wing The engine also had some of its extreme edge detail removed in order to get it to fit into its casing. It was easy to pick out the V shaped cabane struts from the parts, the alignment of which took several attempts to get right. The 2 forward cabane struts were missing, so I made new ones out of brass Strutz. The next task was to fine tune the length of these struts to their correct length. This took some time, as only tiny amounts could trimmed off at a time. It was important to get this bit right otherwise the top wing will not line up properly. Once satisified, the whole engine assembly was sprayed in Alclad Aluminium, the engine itself given a wash of diluted black to bring out all that detail. It was then glued to the fuselage. The missing cockpit windscreen was
fashioned out of clear stock and its frame painted silver. The
missing white disc items for the rear fuselage deck were made from
sections of white rod. I also made up new outer wing support struts,
as the resin items were over-scale and
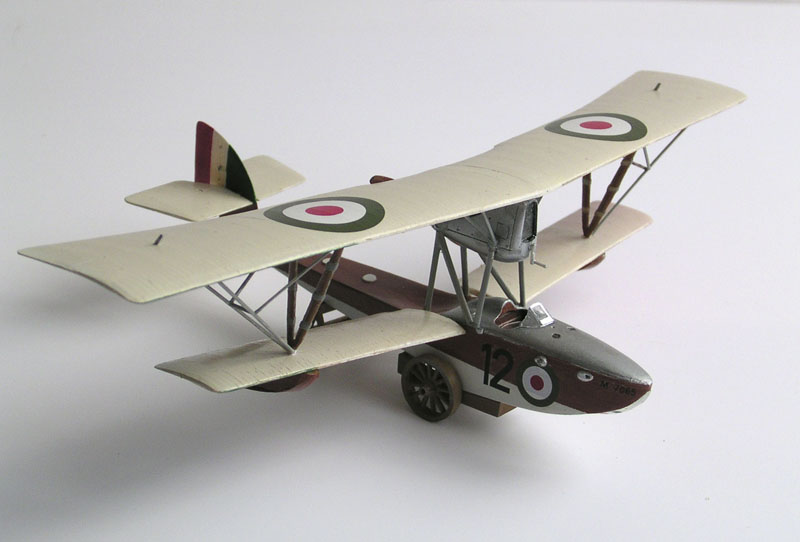
The kit measures out at a length of 112mm, a span of 166mm and a height
of 41mm. When compared to published measurements of 8.06m length,
11.95m span and height of 2.85m, the kit is very nearly spot-
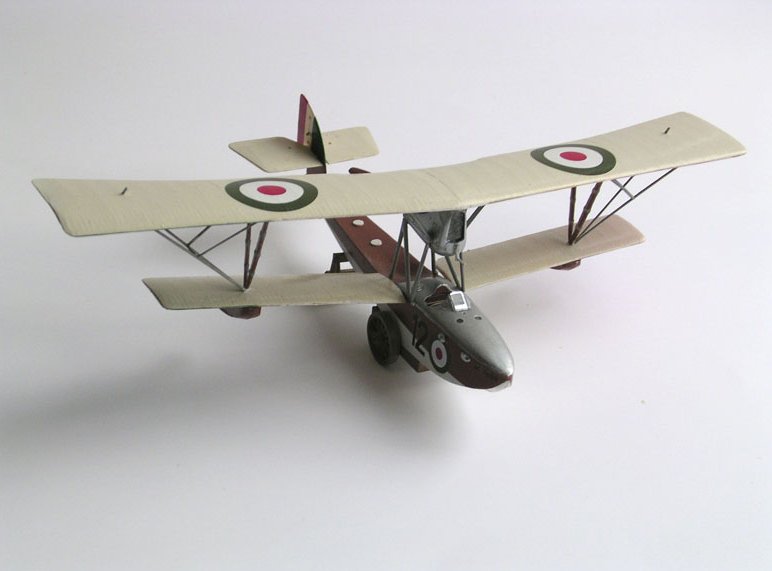
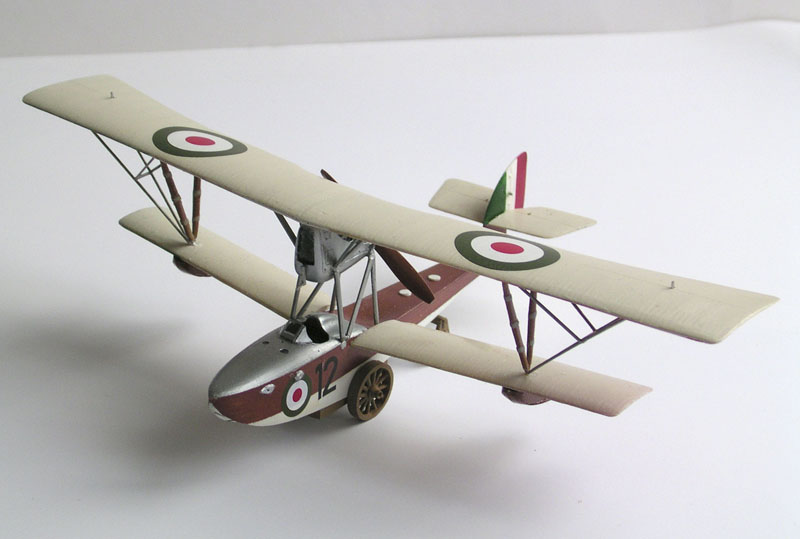
The instruction sheet provides decals for two options, both with the rather simple scheme of varnished wood fuselage, with a white base, and clear doped linen wings. The rudder has the Italian tricolori. Not shown on the sheet, but definitely used, were the tricolori red & green panels on the lower surfaces of each wing, which were applied outwards from the main struts on the top wing and from the floats on The decal sheet is rather disappointing. It has an insufficient number of roundels, two types of rudder
tricolori, neither of which were correct, and 2 sets of serial numbers, one of which was for a later variant. It was difficult to make out which serial number is used in conjunction with the 12 numeral, but I applied it to the model anyway. The green has a rather olive hue, which does not look Conclusions/Recommendation The casting, particularly the wings and fuselage, are excellent quality, so it's a shame that some smaller parts were missing, that the colour diagram was not entirely correct and that the decal sheet was "incomplete". The need for care and accuracy during construction would probably be intimidating for the less experienced modeler, but others may relish the chance of using this model to improve their general skills (including a little bit of scratchbuilding). The finished result is a very attractive and distinctive aircraft, particularly if one of the more colourful schemes were applied. Despite the problems mentioned, which are not insurmountable by any means, this model can still be recommended for the more experienced modeler. |