
|
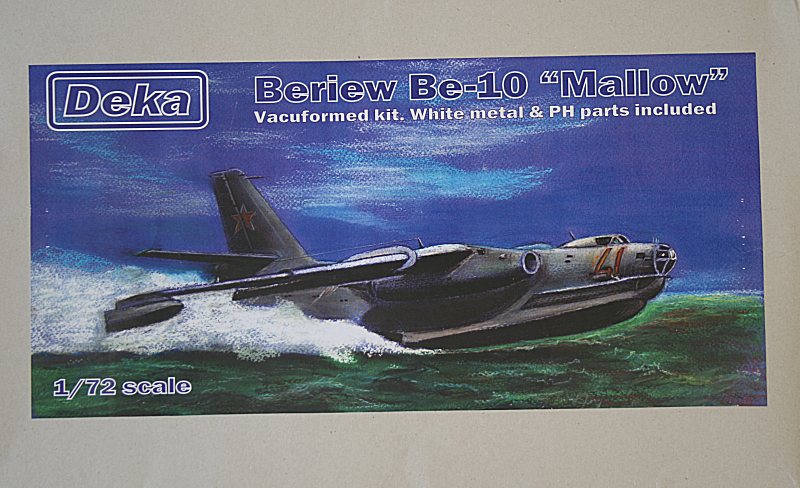
Deka boxart showing Be-10 bort number 41 'on the step' during takeoff. |
|
|
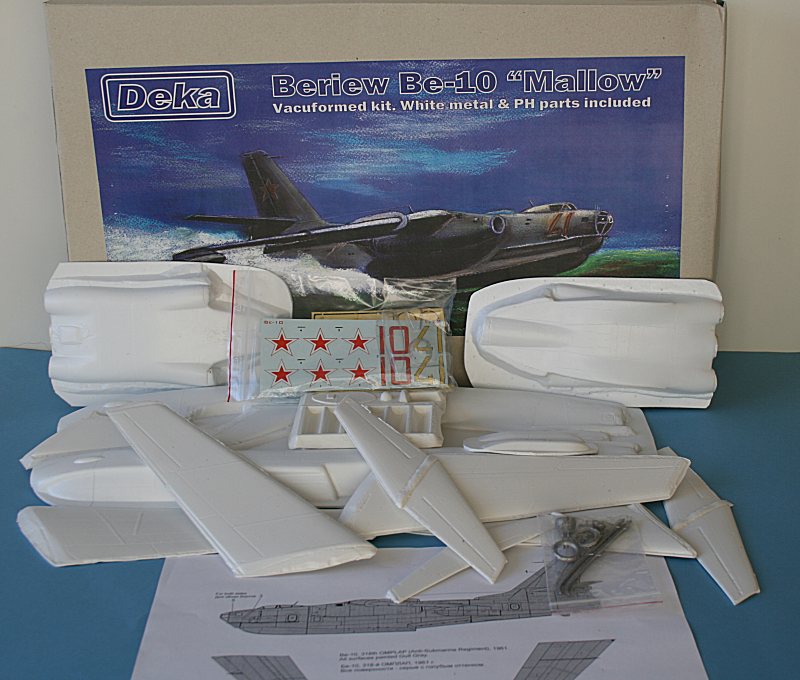
The kits contents - vacform main components, etched-brass and white metal..... |
|
|
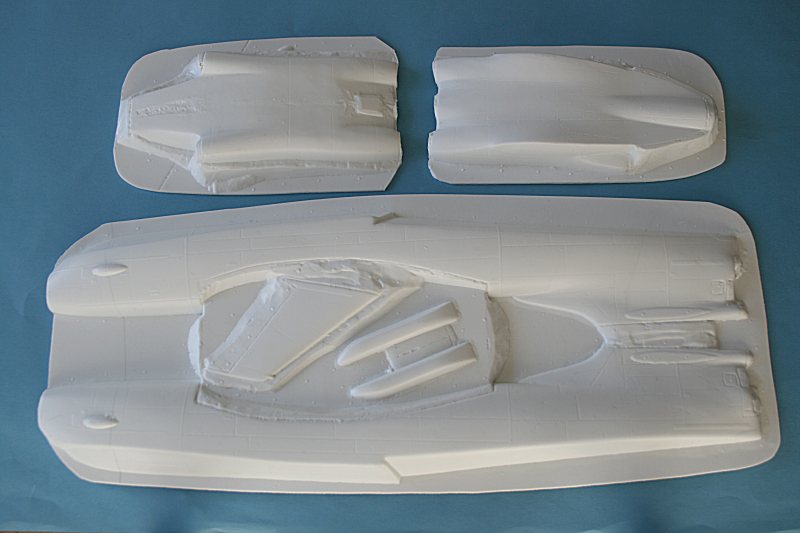
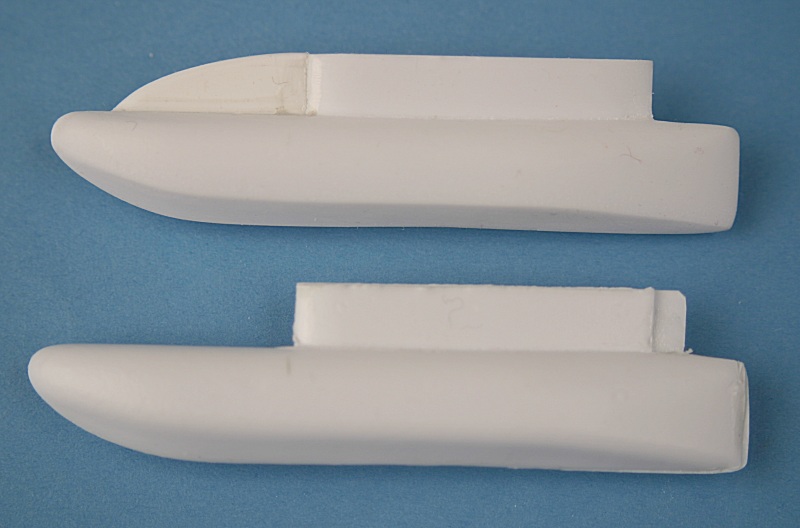
The major parts - two fuselage halves with one fin and float plus, at top, the wing centre-section and engine nacelles. |

|
|
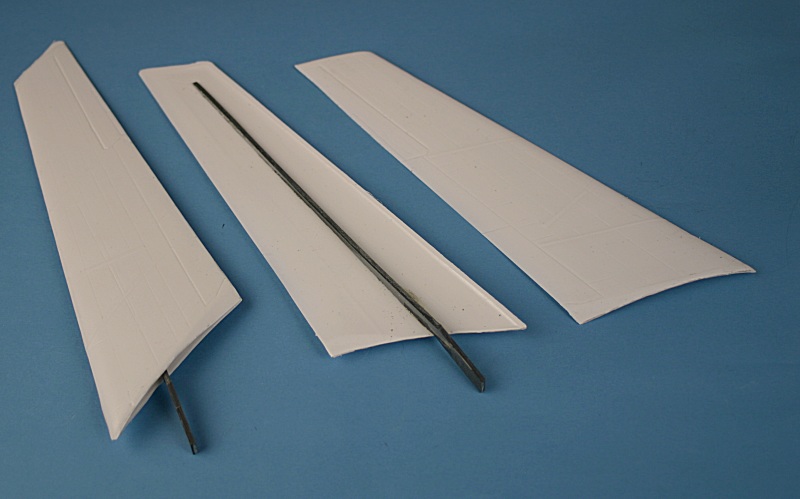
The rest of the vacform parts - top row tailplane,
float, fin & rudders, bottom row, tailplane and wings. |
|
|
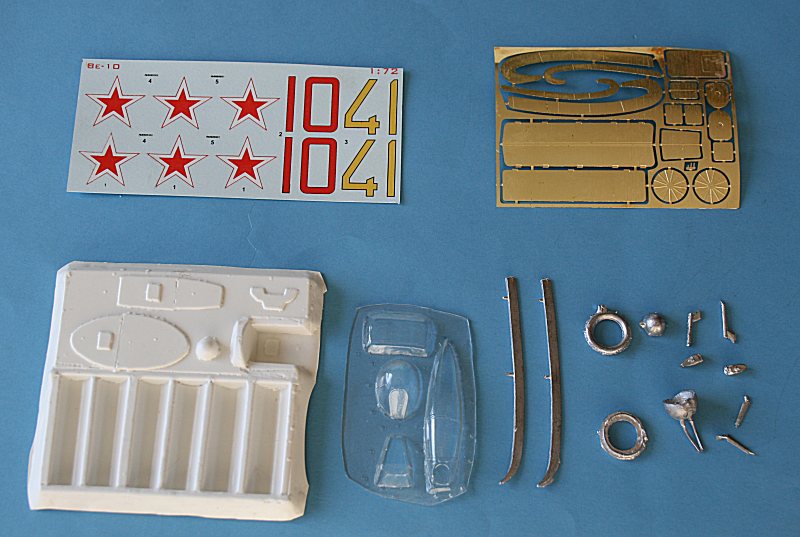
The rest of the kit - decal sheet, etched brass bits, vacform cockpit & jetpipes, clear parts & white-metal components. |
|
|
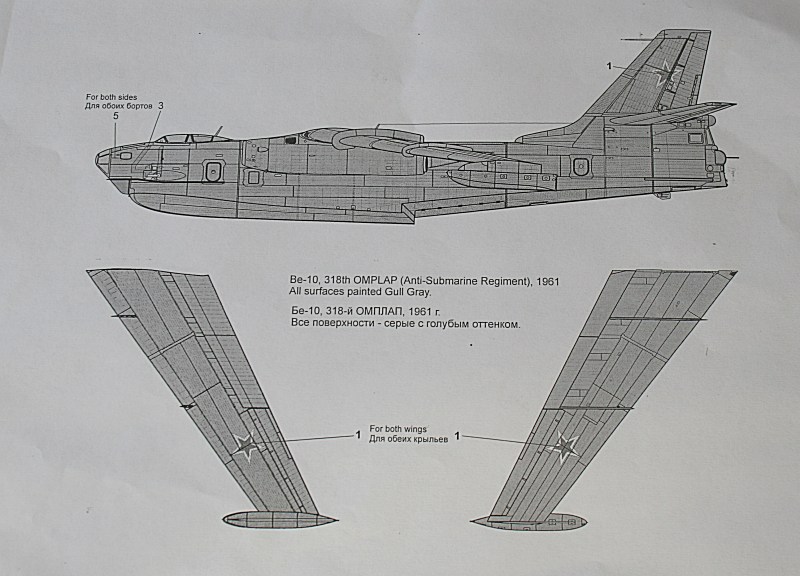
Painting instructions and decal placement drawing. |
|
|
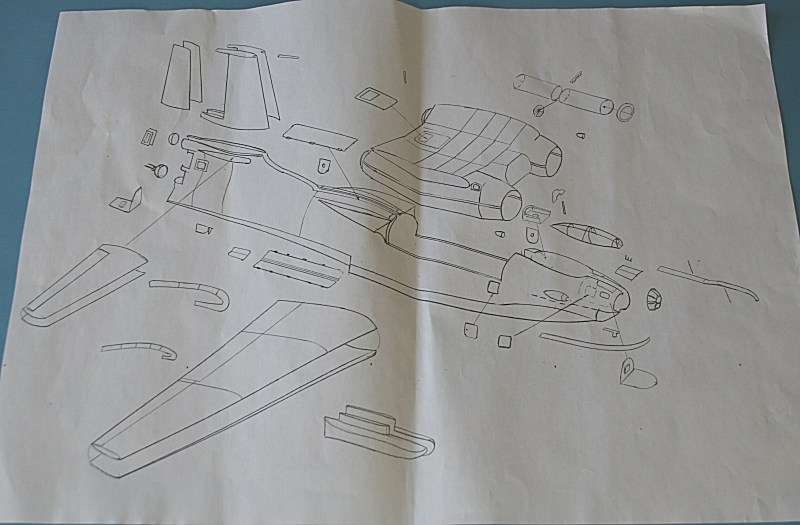
A3 sheet of 'instructions'. |
|
|
Deka
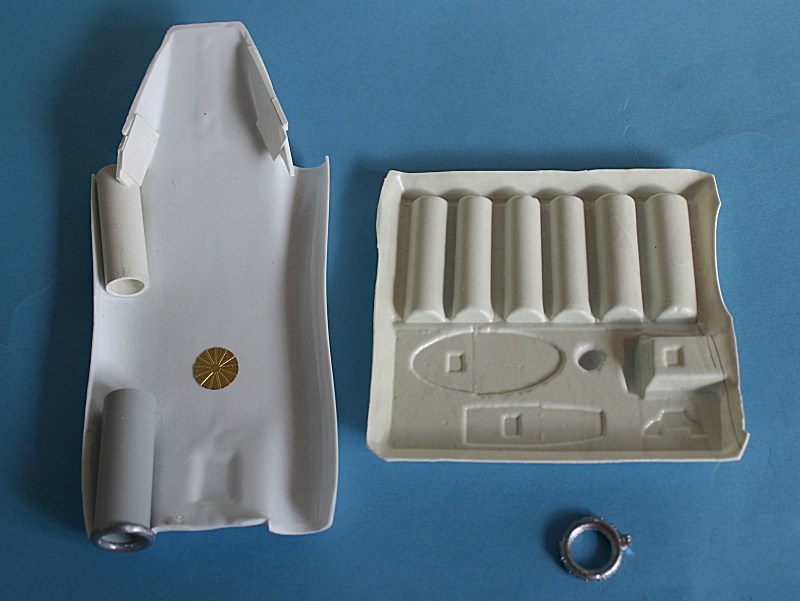
provide 'jetpipes' in the form of semi-circular half-mouldings. They also include a crude white-metal intake lip and an etched-brass fan
|
|
|
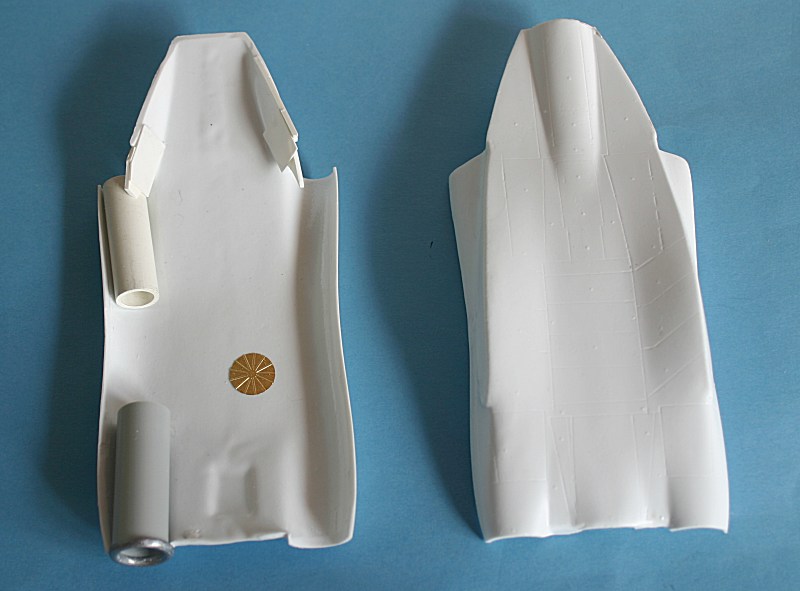
The bottom section of the wing centre-section and jet engines at left, the top surface at right. |
|
|
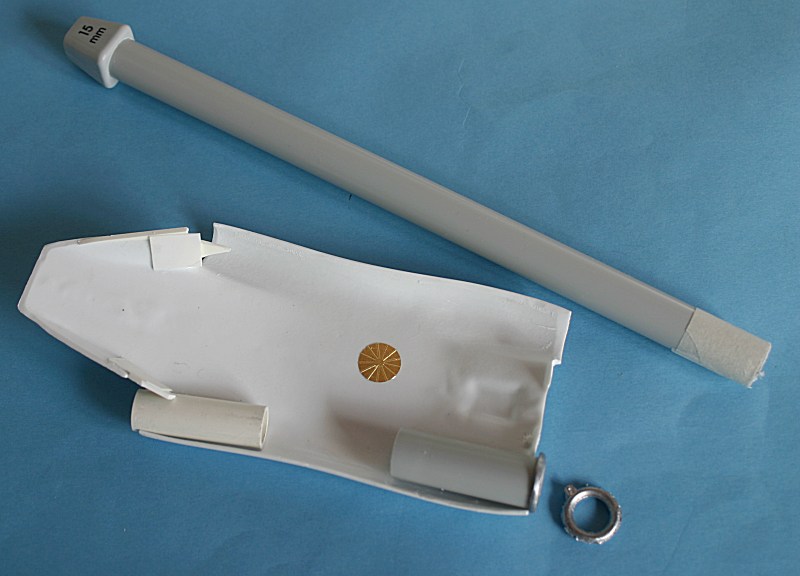
I decided to make my own intake trunking - using a 15mm dia plastic knitting needle. The jetpipe is a smaller diameter plastic tube that I had in my spares box. Due to the complex shape of the 'pen knib' fairings at the rear of the jetpipes, the vacform
mouldings do not extend into the jetpipe far enough - so I have added plastic card so that I can shape it later.
|
|
|
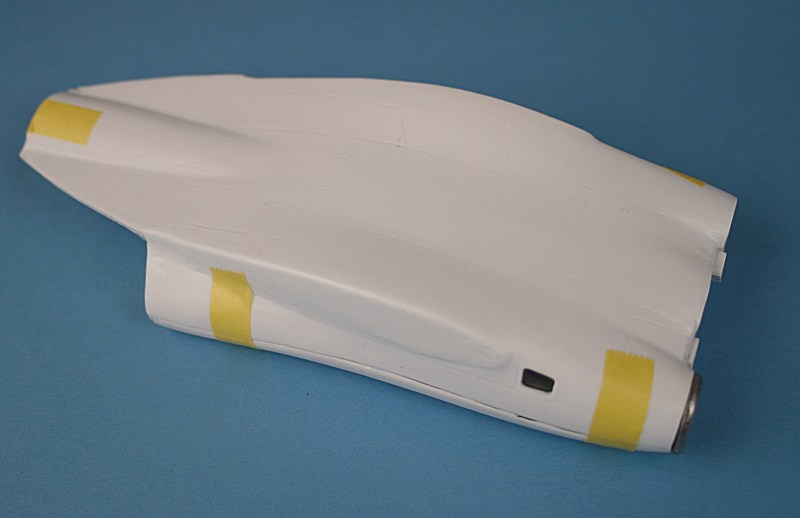
The top & bottom centre section temporarily taped together.
|

|
|
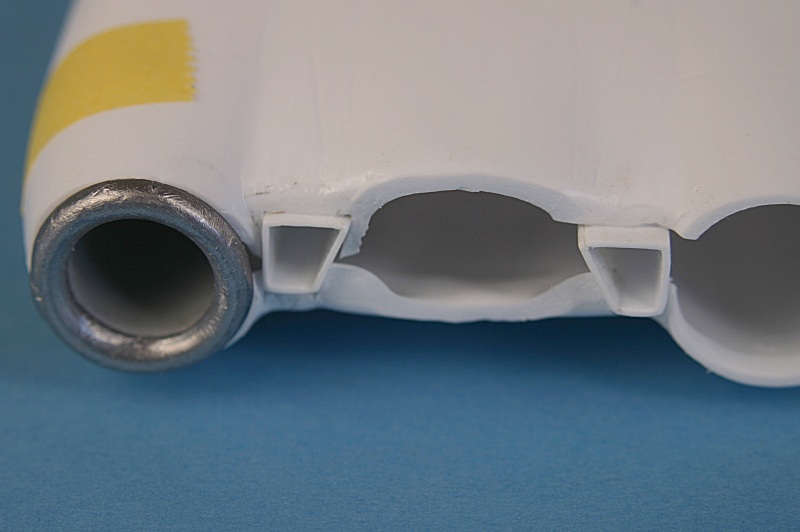
I have opened up two intakes in the sides of the
intakes - and backed them with spare etched mesh... |
|
|
According to the excellent Aviatsiya i Vremya drawings, there are also two intakes between the intakes and the fuselage. I have added these here - they will be blended in later.
You can view these plans by clicking
here
to go to the SEAWINGS Plans Gallery.
|
|
|
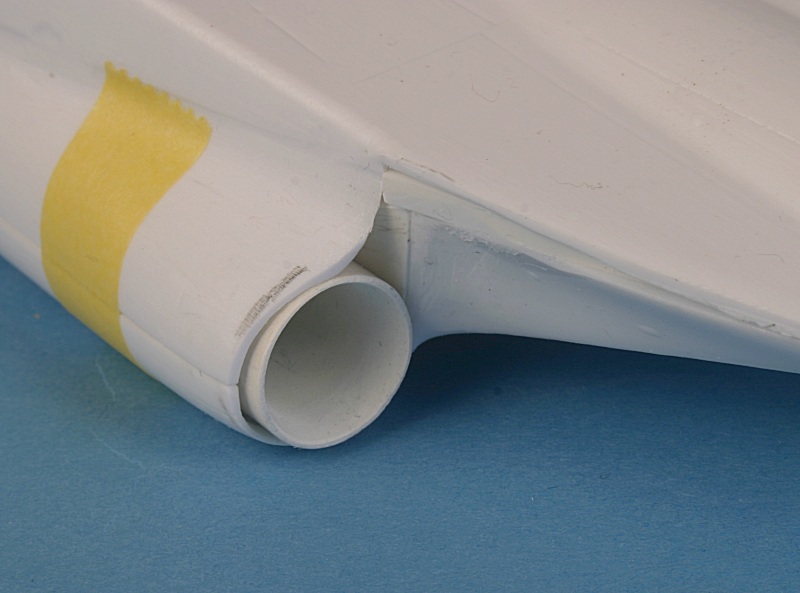
The jetpipes are also going to need some work - the open area above the jetpipe needs to be filled and blended in...
|
|
|
Starboard wing completed at left - port wing upper & lower halves showing spar at right. |
|
|
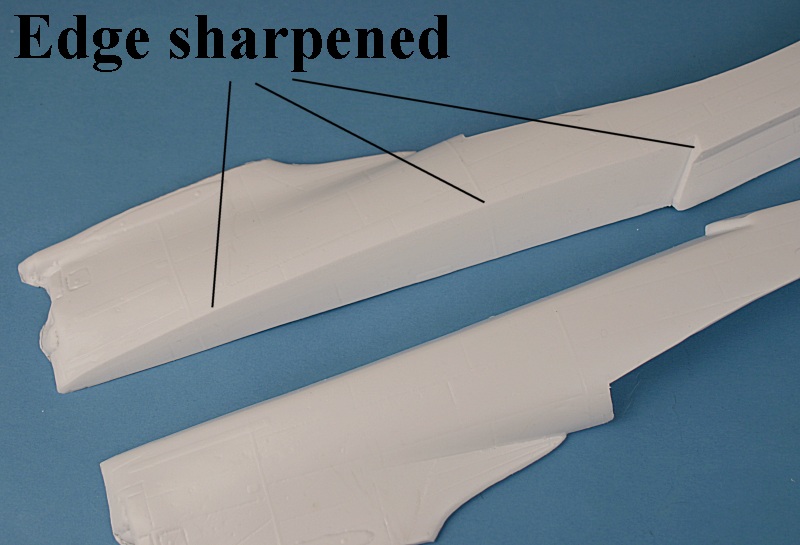
Because of the vacform moulding limitations, the edge where the vee planing bottom meets the fuselage is moulded with a slight curve - sharpening up the edges improves the look enormously.
|

|
|
This view shows the sharp-edged chine at top - the 'un-sharpened' edge is at the bottom. |
|
|
Lots of filler needed at the engine exhaust/fairing... this is the port side.... |
|
|
....the starboard side after sanding... |

|
|
The whole port side engine nacelle. |
|
|
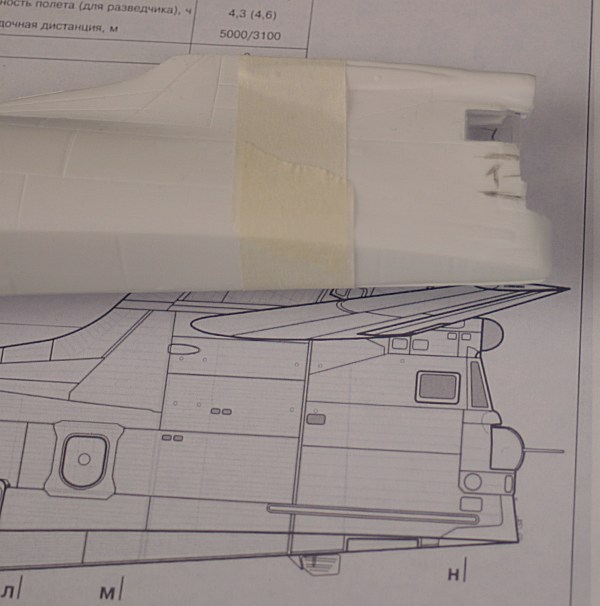
Comparison between the vacform kit rear end and the AiV drawings... |
|
|
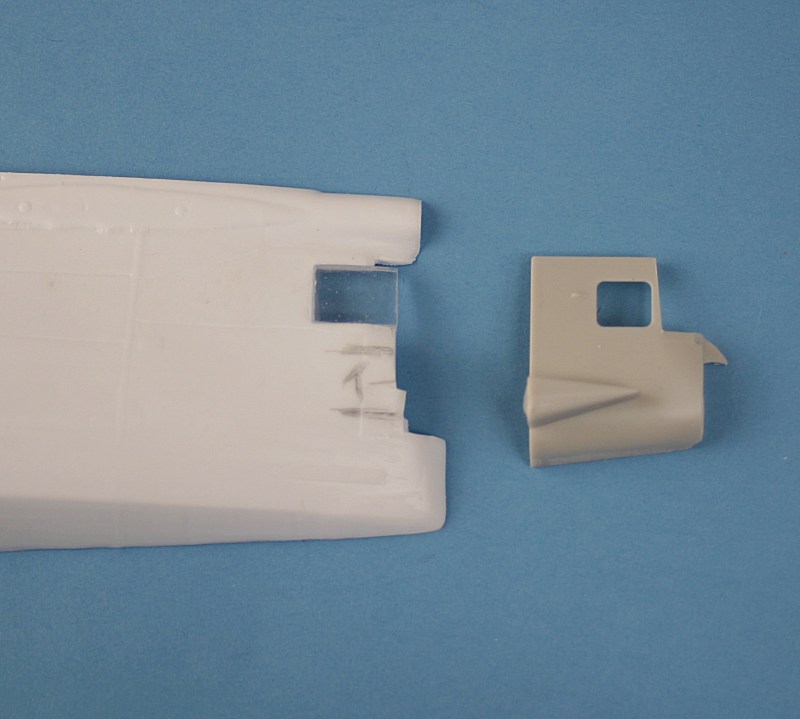
The rear turret from the Roden An-12 kit can be used....
|
|
|
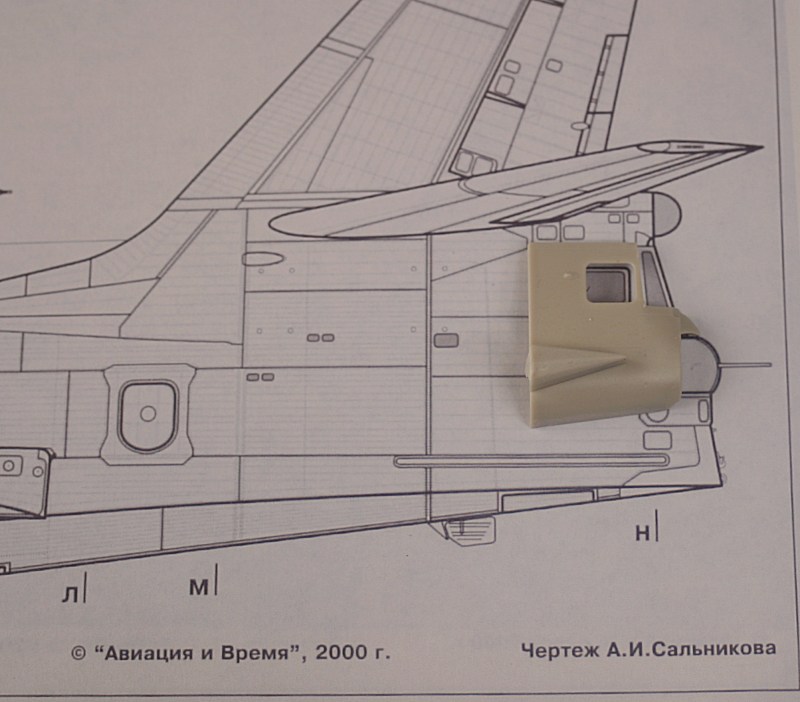
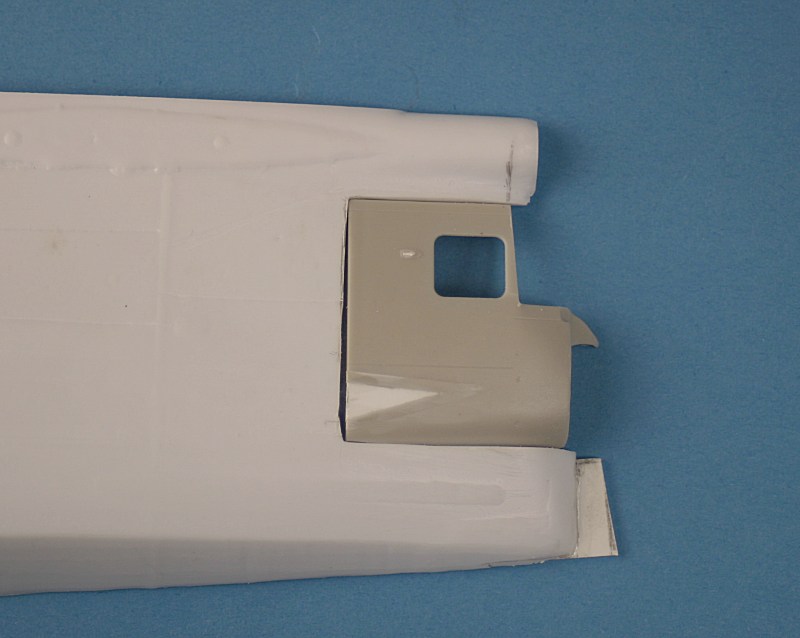
....all I have to do is graft it in place |
|
|
It works !!! |
|
|
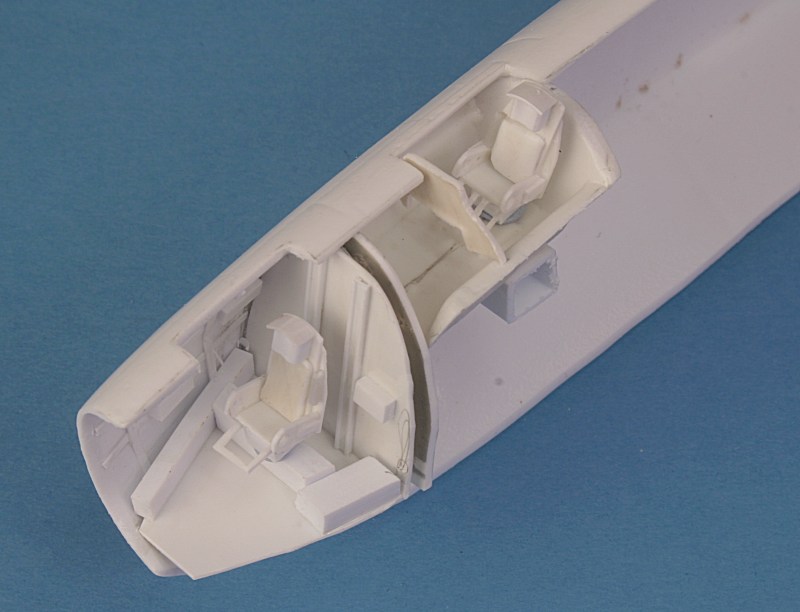
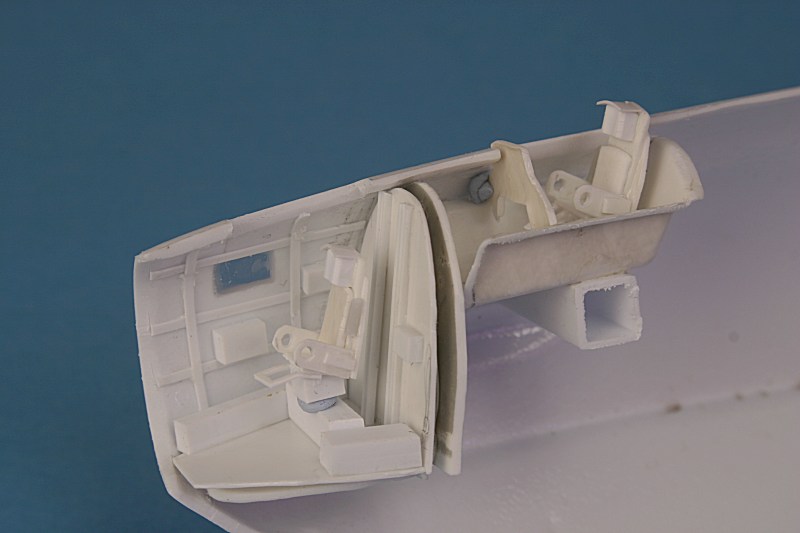
Scratchbuilt pilot's and navigators stations - including seats! |
|
|
The only kit part is the cockpit 'tub'. The side windows have to be opened up. |
|
|
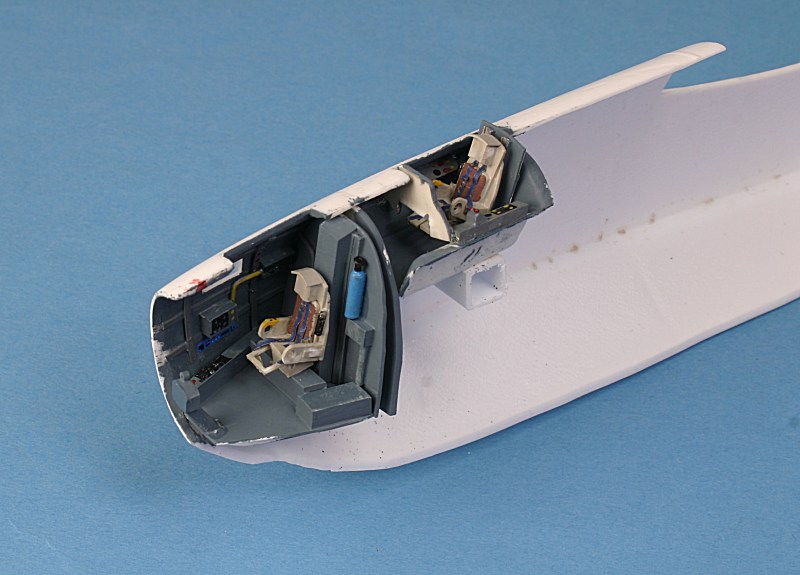
Interior painted - it is all entirely fictitious, but it looks 'busy'. |

|
|
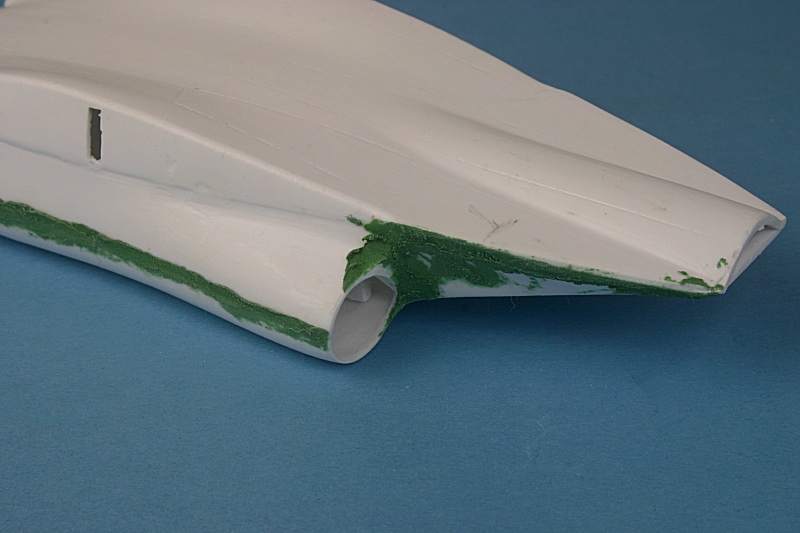
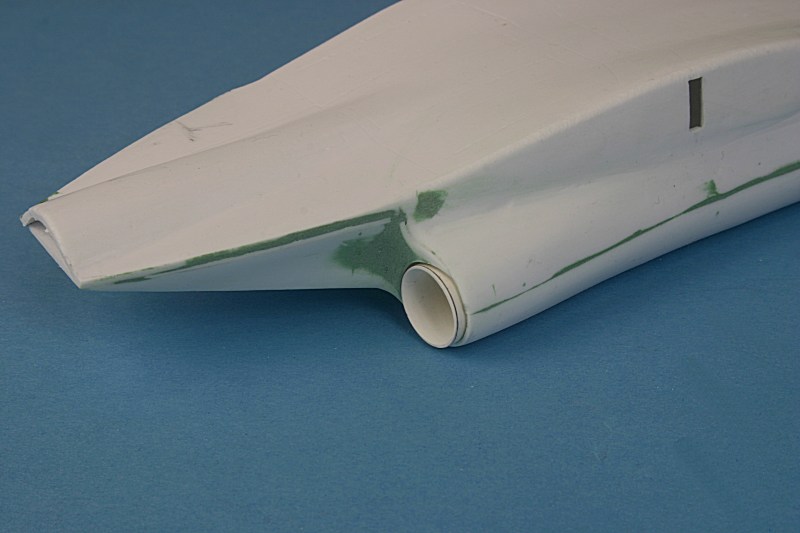
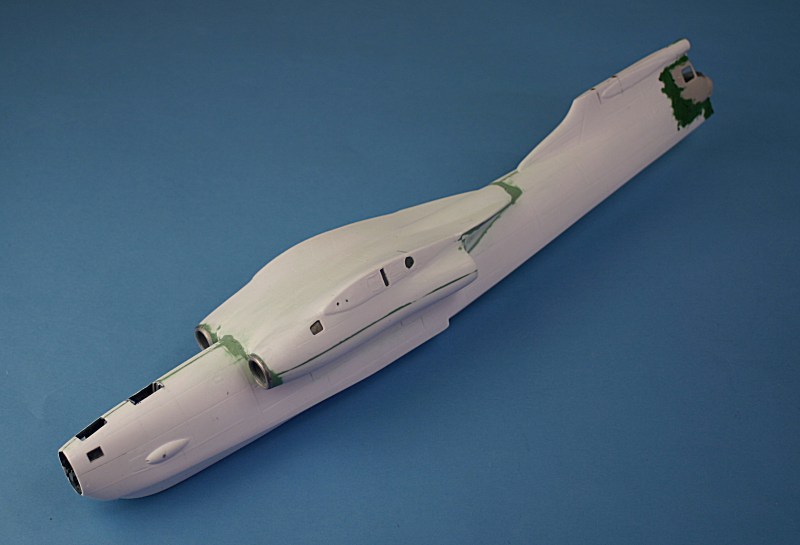
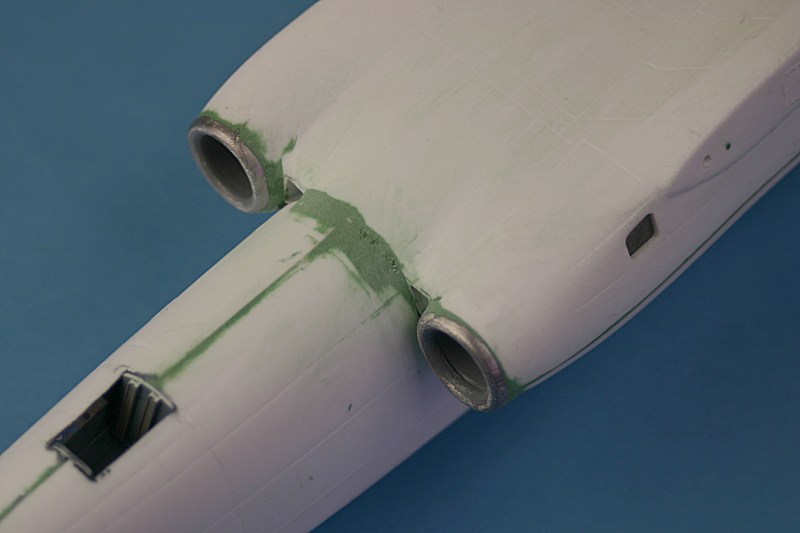
White metal intake rims and plastic tube ducts added. Filled with 'Green Stuff', the starboard side has been rubbed down.....
|
|
|
Centre section attached to the fuselage - after adding some internal bulkheads for strength.... |
|
|
Now begins the task of filling, sanding, checking, more filling.... |
|
|
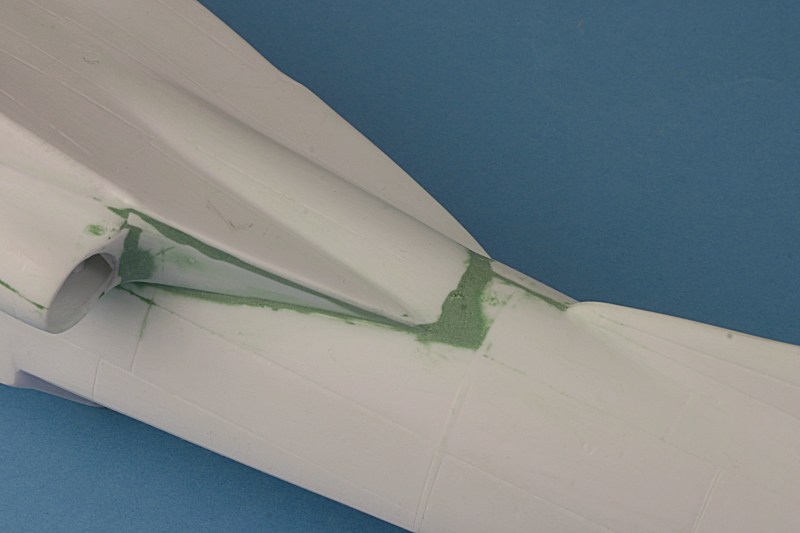
The pen-nib/jetpipe/fuselage junction.... |
|
|
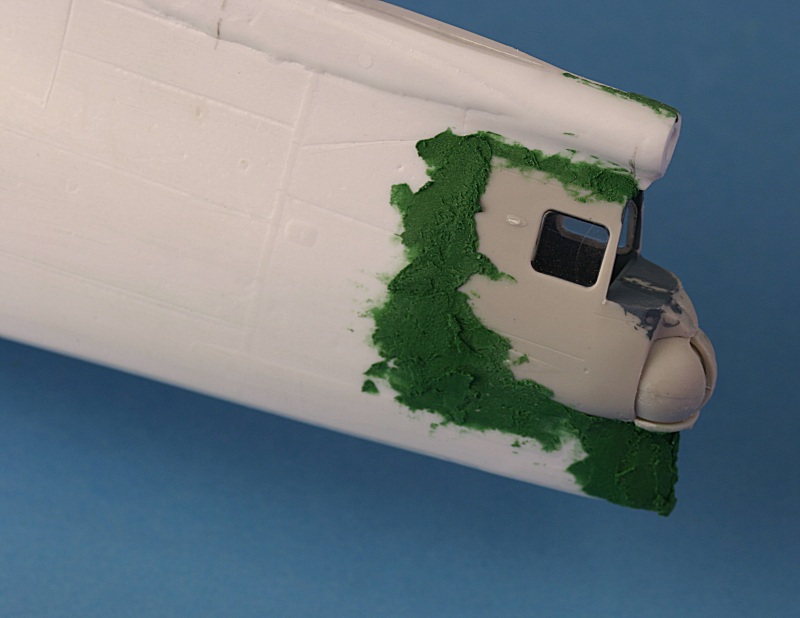
The An-12 rear turret works a treat..... |

|
|
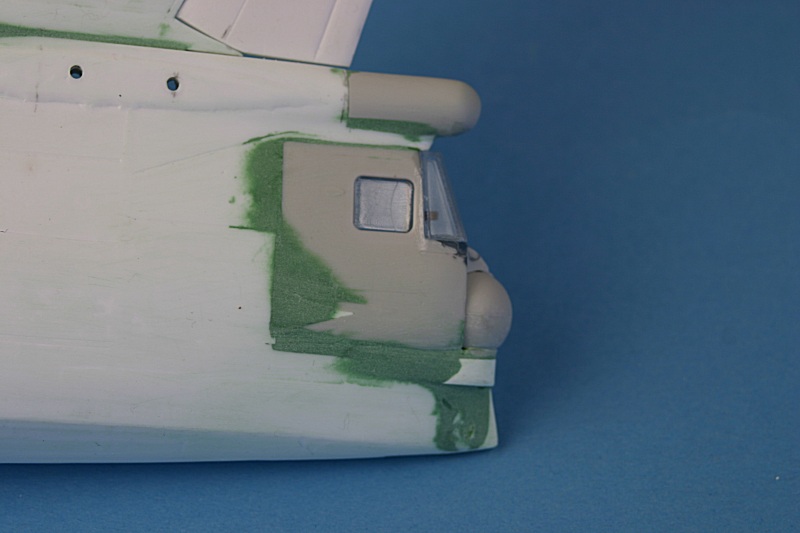
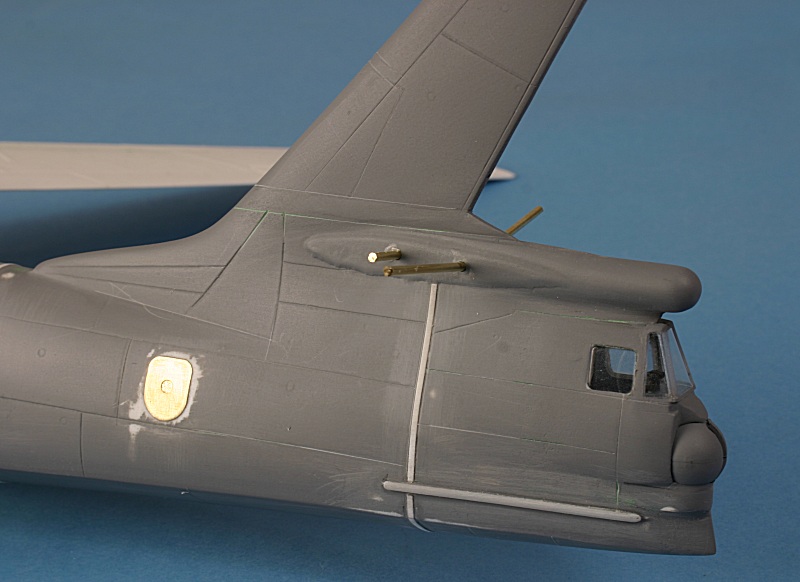
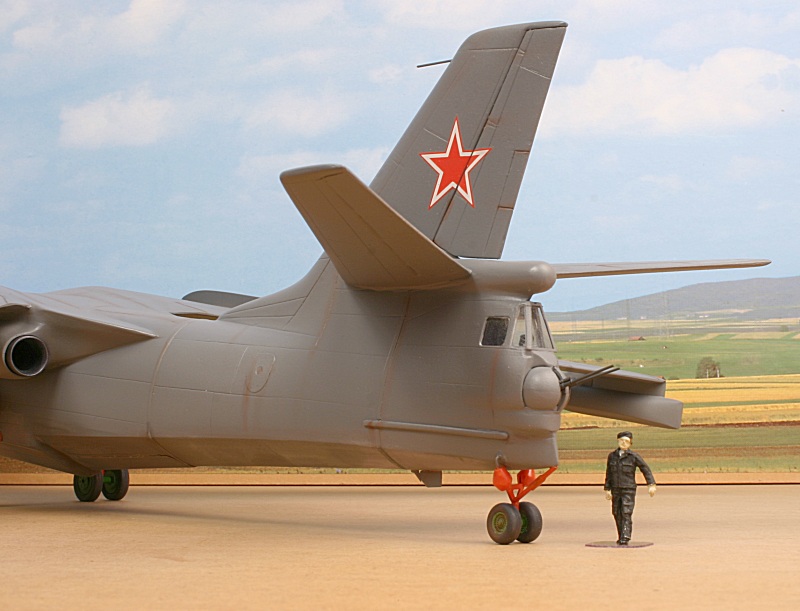
Fin attached, turret blended in - much work needed to get it looking right. |
|
|
I had to do some scratchbuilding to get it right - the shape is quite complex.
The tracking radar dome above is made from an 8mm dia knitting needle.
|
|
|
The floats need the same 'sharpening' treatment as the hull planing bottom. I also had to add the curved fillet - it is not provided in the kit.
|
|
|
Fuselage primed to check for faults and panel lines re-scribed. The white vertical strips are covers over transport joints, the horizontal strip is D-section sprue strengthening strip. I have added the etched-brass entry door and bent rod for the tailplanes.
|
|
|
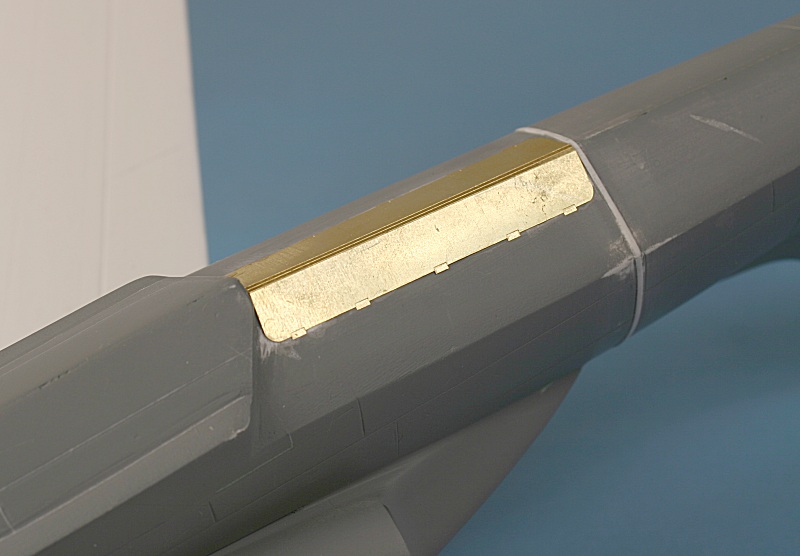
The weapons bay door on the planing bottom is also supplied in etched-brass. |
|
|
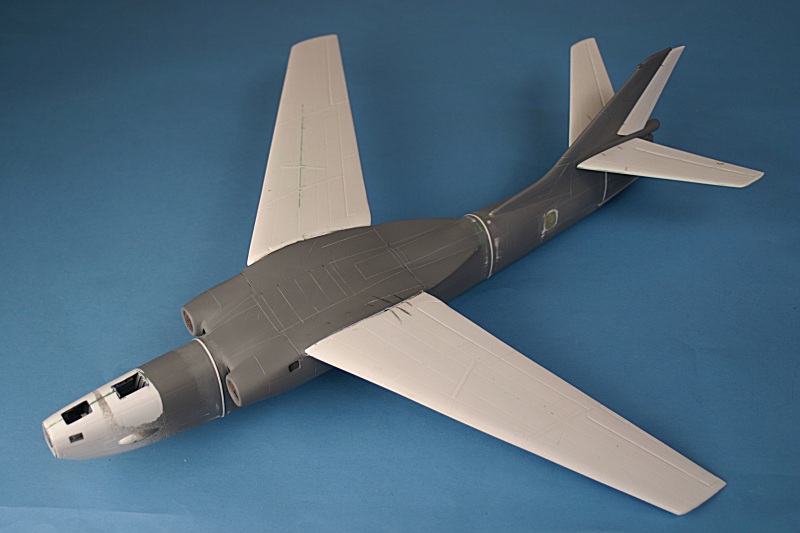
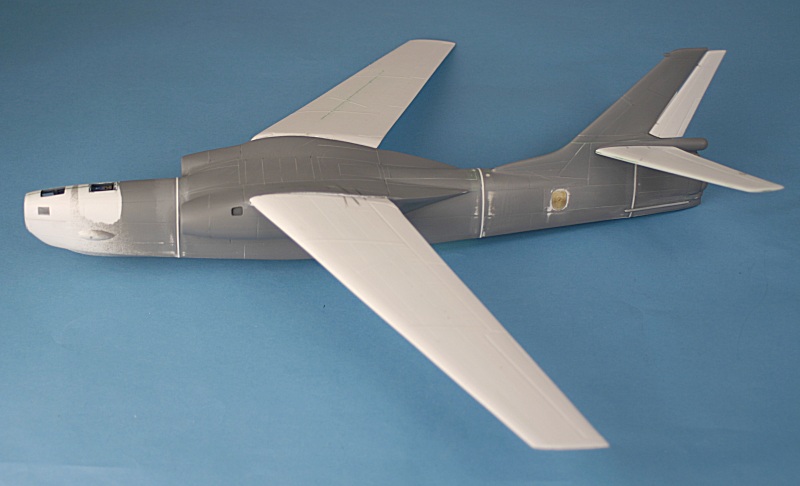
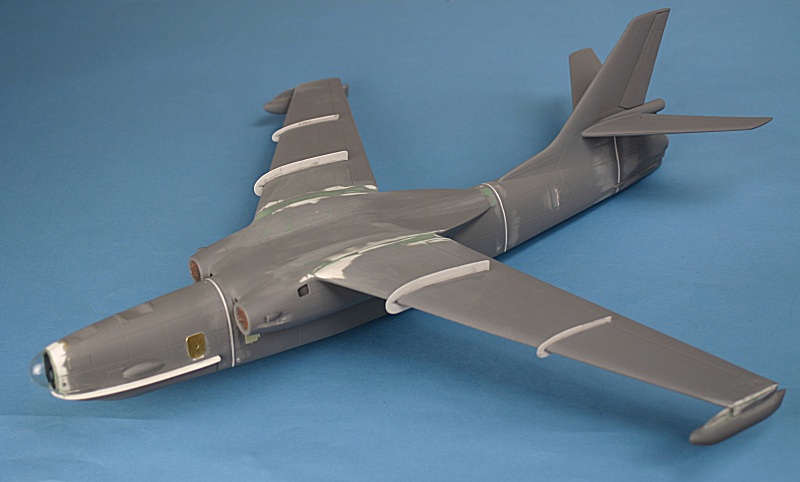
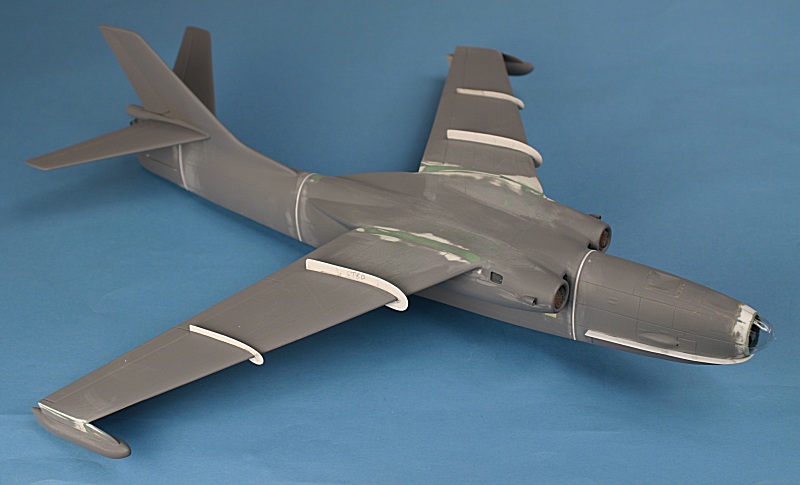
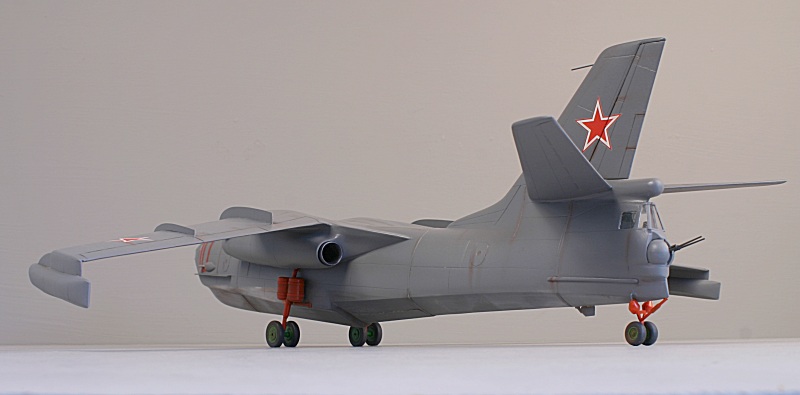
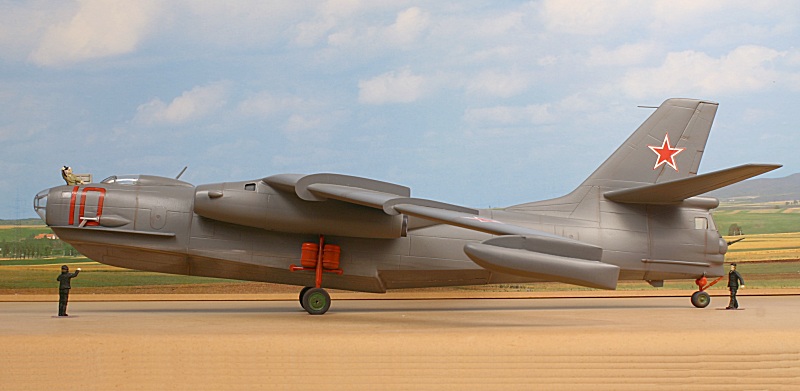
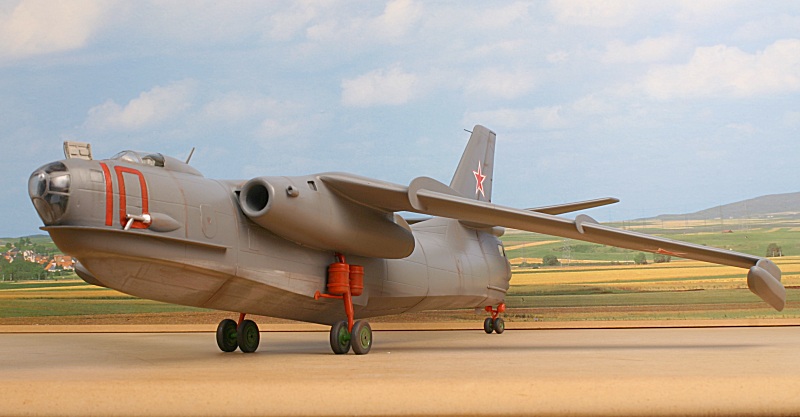
I have added the tailplanes and wings - all I have to do now is blend them in! |
|
|
Note the three strips over the transport joints.
|
|
|
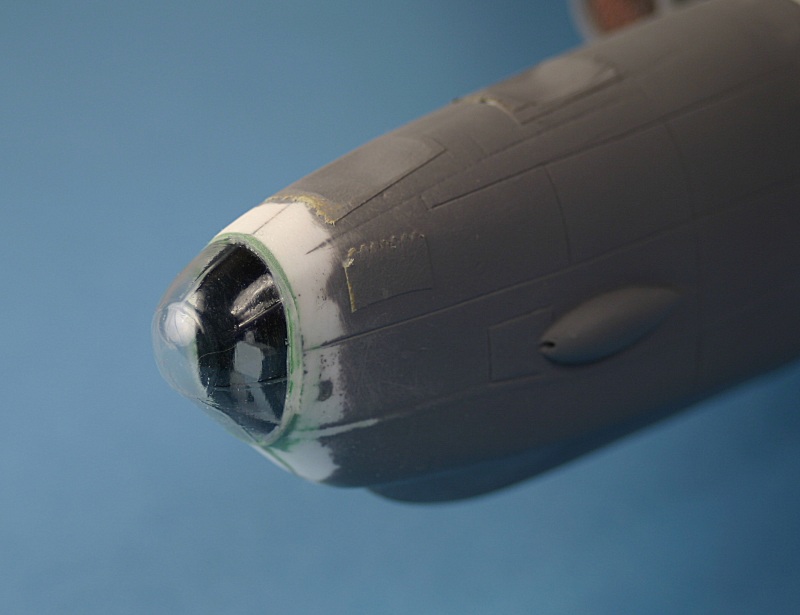
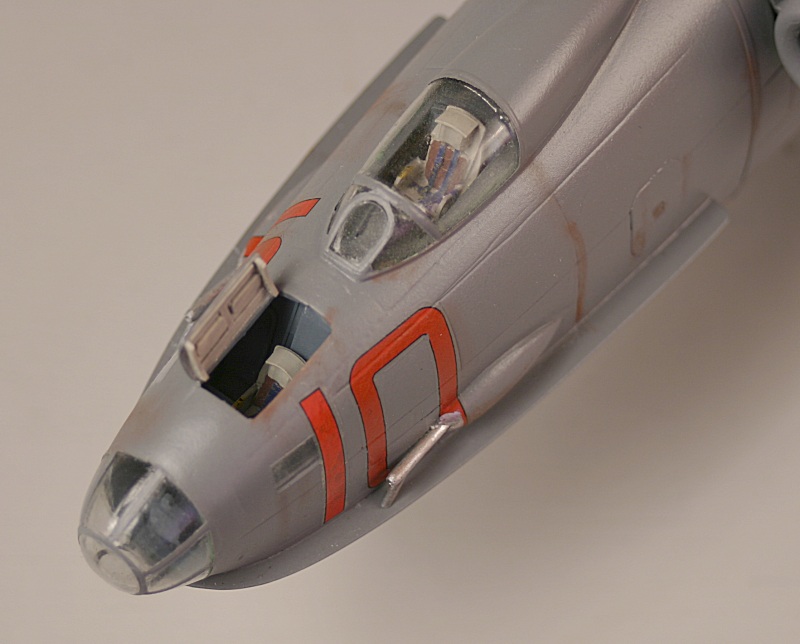
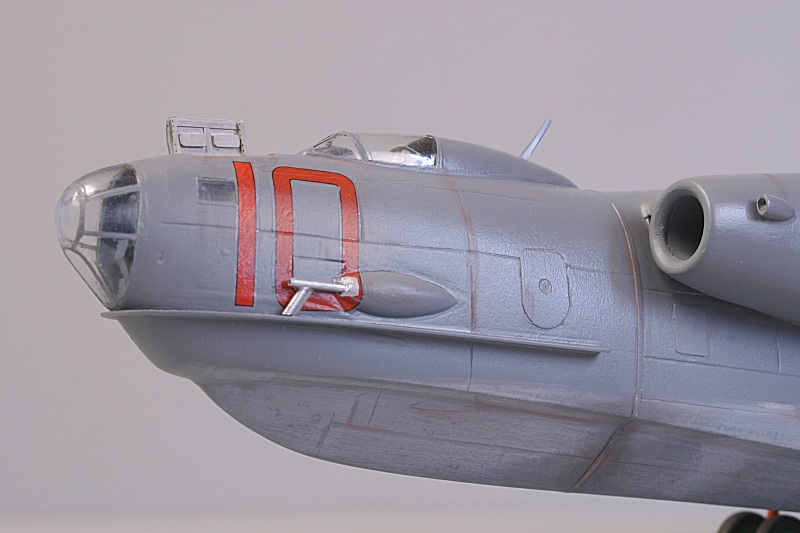
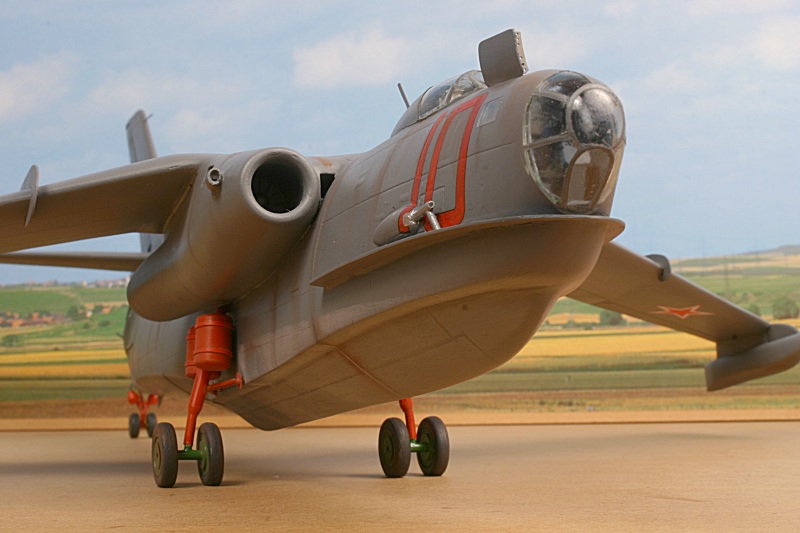
The clear vacform nose glazing is glued in place and blended in with filler. |
|
|
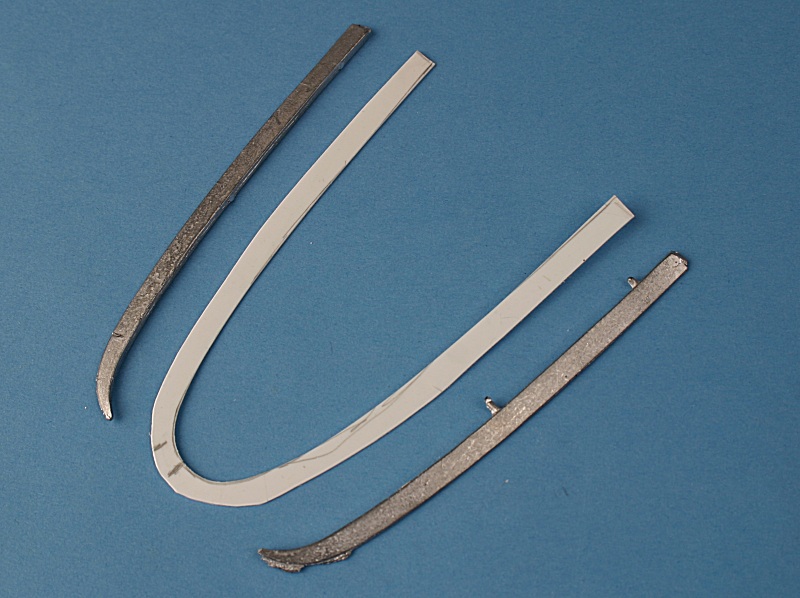
I decided that the White Metal chines supplied in the kit were too thick - so I have made new ones from plastic card. |
|
|
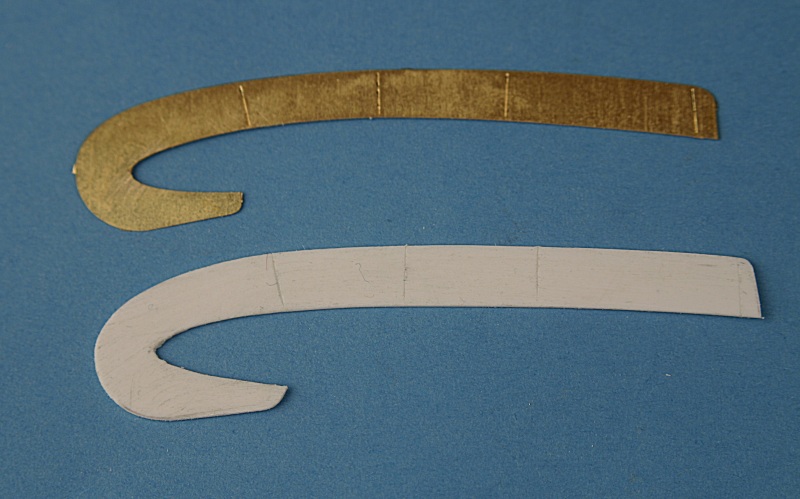
Similarly, the photo-etched wings fences are also replaced.... |
|
|
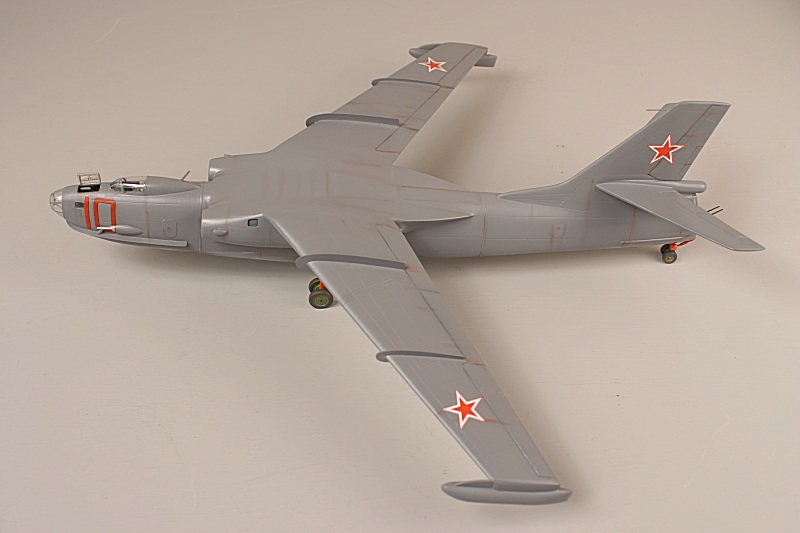
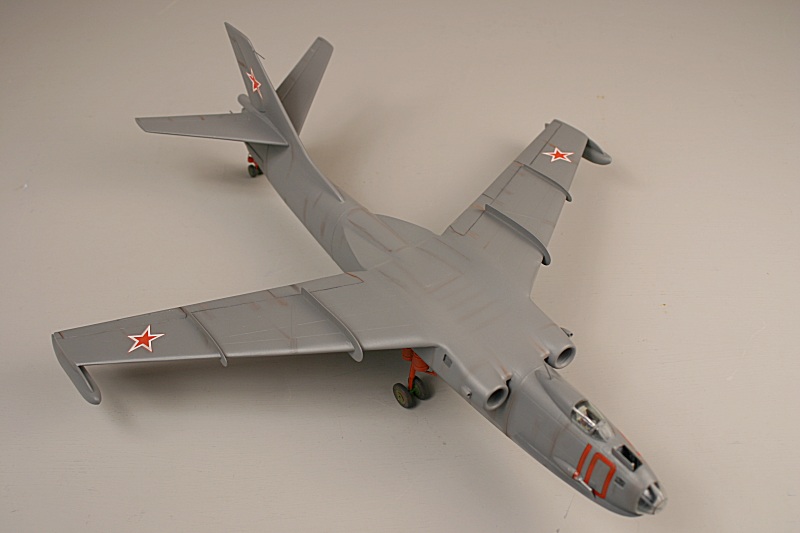
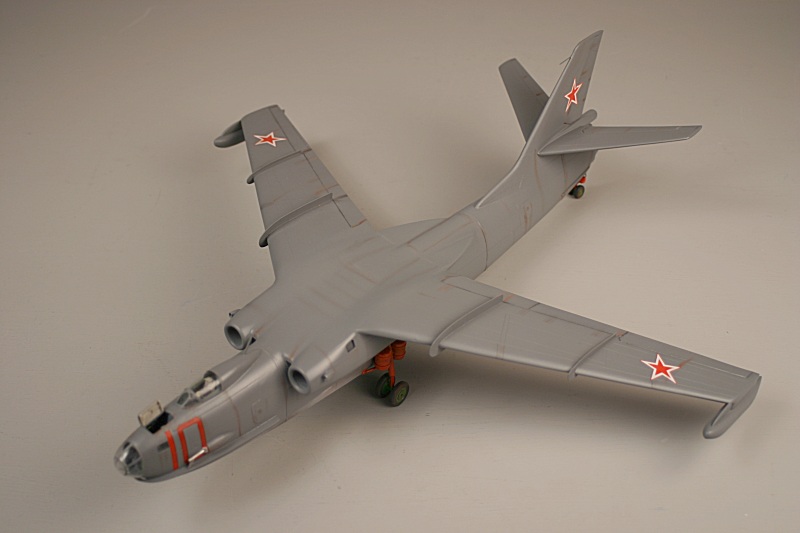
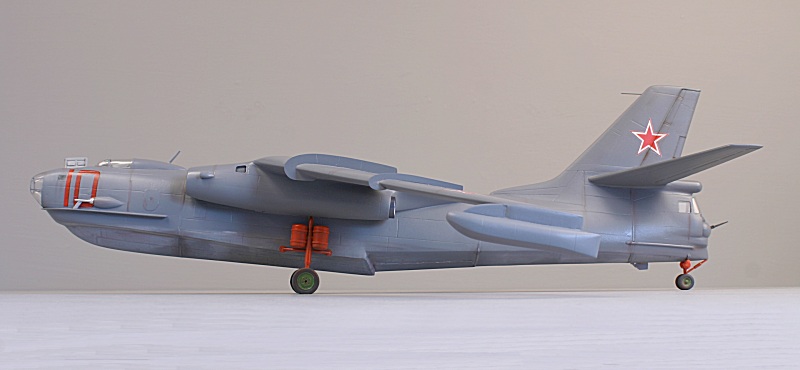
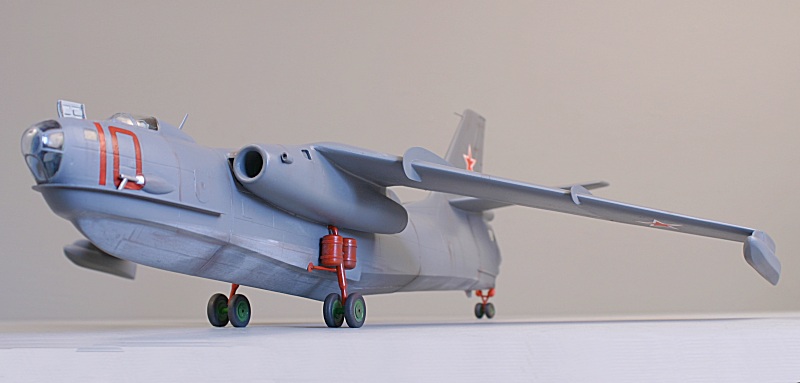
It's all coming together now...... |
|
|
All I need to add now is the cockpit canopy and
paint...!.
|

|
